home school, travel, healthy living, environmentalism, organics, wholesome family, be the change
Author: Adriana
Adriana is a retired documentary film producer, full-time mom who loves her children, gardening, cooking, crafting, traveling and a simpler lifestyle that incorporates a slower pace.
These three books, The Remarkable Journey of Coyote Sunrise by Dan Gemeinhart, Pax by Sara Pennypacker and The Girl With More Than One Heart by Laura Geringer Bass are stories about overcoming hardships and sadness with hope and love. These books taught me that life is not always going to be easy and we need to live, enjoy and cherish good times.
The Remarkable Journey of Coyote Sunrise is a story about a girl who lives in an old school bus with her dad. Five years ago she lost her mom and sisters in a car crash she hasn’t been home since. Now she finds out that the park where she, her mom and two sisters buried a memory box is about to be torn down. She has to get her dad to drive 3,600 miles without him knowing were he’s going. As she starts on a trip back home she is joined by five interesting people and one surprise guest. I liked this book because it had an exiting adventure, taught me that memories are important and that you can find strength from bad things that happen.
Pax is story about a boy and a fox. Peter has had Pax since he found him as a small kit cold and all alone. When his dad enlists in the military, Peter is forced to return Pax to the wild and move to his grandfather’s home. He knows he did the wrong thing, letting Pax go. So, Peter embarks on a journey to get Pax back. He has to travel 300 miles to where he left Pax. Along the way Peter has some trouble and meets Vola a woman who lives alone in the middle of nowhere. Peter realizes that Vola can help him and that he can help her. This book is a story of friendship and about fighting for someone you love.
Sometimes we can feel like we need another heart to get through hard times. When Briana’s father dies, she seems to grow another heart. A heart that talks to her and it sounds like her dad. The heart says things like “Be Your Own” and “Find Her!” Briana has no idea how she can be herself when she is struggling with her mother not getting out of bed, taking care of her little brother and dealing with her friends treating her different. How can she live without her favorite parent? This is a beautiful story that is filled with love and tells us that even in times of misery and sadness there is always a path to hope.
I hope you find some inspiration from these great books –
Lily’s Fresco of our family at the dinner table painted on our basement wall!
Inspired by an Art History Class Lily (9) is taking on Outschool.com, the kids and I have delved a little deeper into the Italian Renaissance and some wonderful lessons in History, Art and Geography. Throughout history, no art movement has had an impact quite as profound as the Italian Renaissance. The Renaissance was a time of “Rebirth” and a renewed interest in the culture of classical antiquity. It is a period of great cultural change and achievement that began in Italy during the 14th century and lasted into the 17th century. Master artists like Michaelangelo, Leonardo DaVinci and Rafael adopted a more humanist approach to art. What started as a humanist movement soon spread to other areas including literature, religion, science and exploration. It truly is a revolutionary movement in time with so many magnificent outlets to explore!
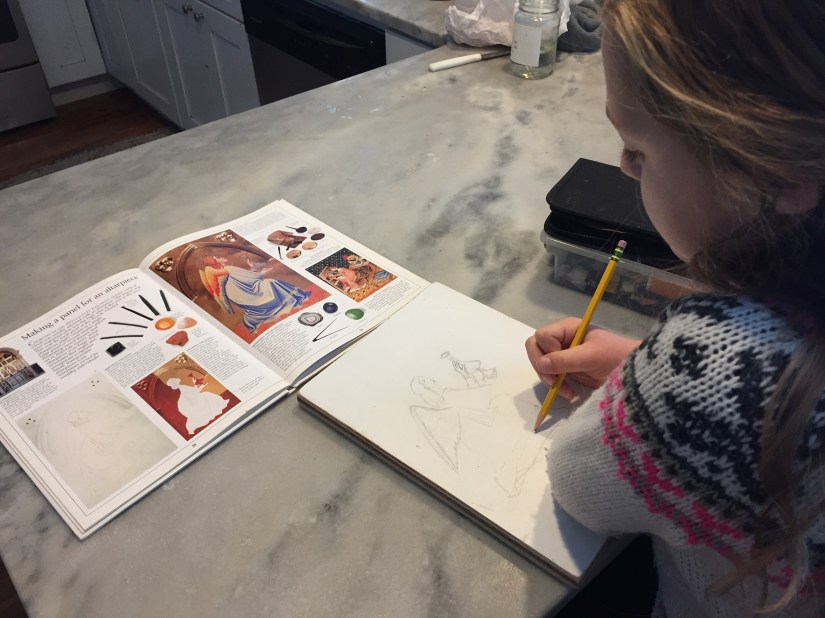
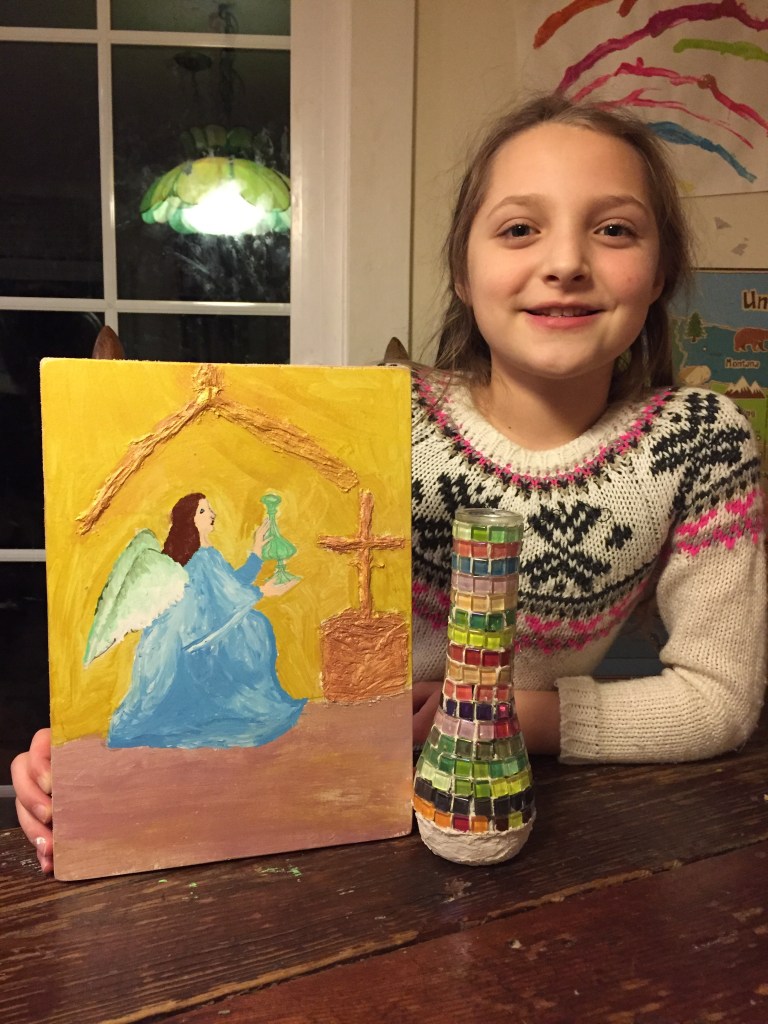
Lily created her own altarpiece by painting an image on a wooden pallet
The kids and I studied Renaissance altarpieces, what they were used for, the art perspective, families that commissioned them and the history behind the work. Lily painted her own altarpiece on a piece of wood with some acrylic paints. She also created a mosaic vase after we explored the mosaics often found on church walls and ceilings created during the Renaissance and during the Byzantine Empire.
Lily and her fresco – a painting of our family at the dinner table
Below is a great clip about Michelangelo and the Sistine Chapel from ArtRageous with Nate.
If you haven’t ever explored “Rick Steves” programs he has a whole series called “Rick Steves Europe” that you can watch on YouTube. I think it originally aired on PBS programming, but can be found on Youtube too. The kids and I love watching these programs as it gives us a real look into the places we are studying. Below is a link to his episode on Florence, Italy and the Renaissance.
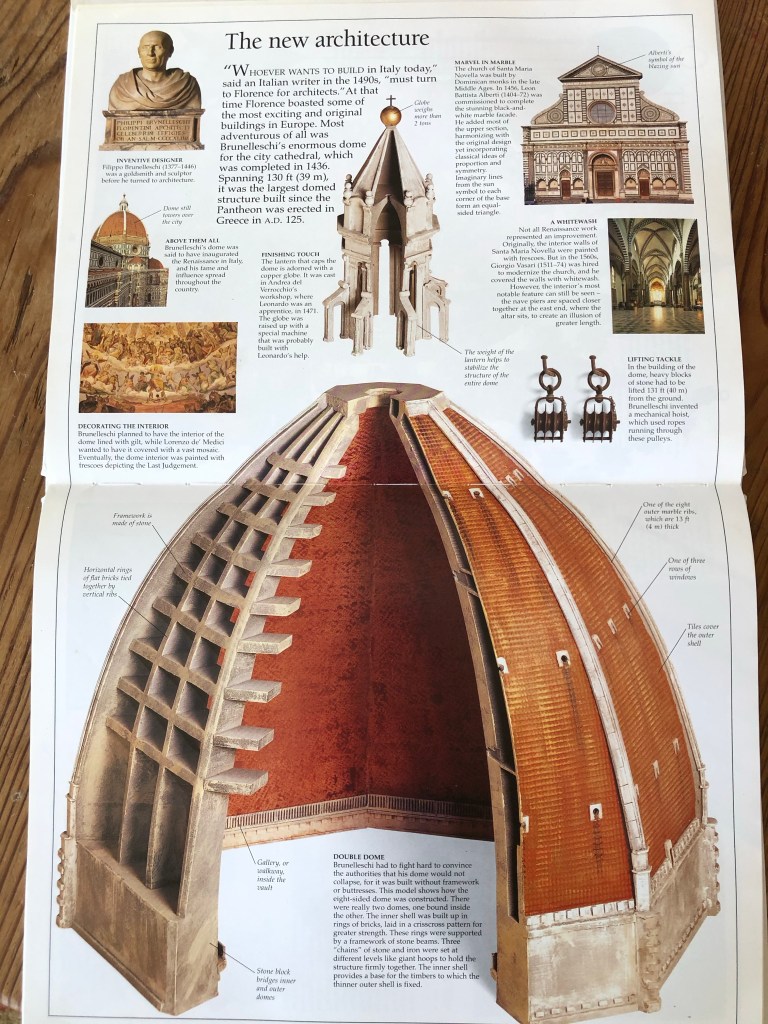
Our “Egg-speriment” inspired by Brunelleschi’s duomo
We love science in this house and “egg-speriments,” So, what could be more fun than testing the strength of the dome shaped egg! After learning more about Brunelleschi and his amazing architectural feat with the creation of the Duomo built at the Cathedral of Santa Maria del Fiore in Florence, the kids and I had fun testing out the strength of the dome shape.
For this simple science experiment…
Wash and dry some egg shells. The more the better because they do eventually crack under pressure!
Place 4 egg shells of about equal size on a flat surface and gradually stack books on top until…. the eggs break!
Then weigh your books to see how much weight the eggs held. Ours held a surprising 19 pounds worth of books!
If you’d like to have your child practice the Scientific Method, you can have them each write down in their note books a Hypothesis for how much weight they think the eggs will hold, or how many books and then compare the results with their “scientific educated” guesses.
This experiment is a great way to incorporate art, architecture, history, geography and a math lesson!
Below is a great clip about how the Duomo was built.
This is only just the beginning! There are so many fascinating directions you can take when exploring Italy and the time of the Renaissance. The kids are currently working on painting their own self-portraits and creating some DaVinci inspired machines!
Some great books and audio recordings for those ages 6 and up to explore these topics further are:
DK Series Eyewitness Books are full of great information
Along with…
Masters of the Renaissance: Michelangelo, Leonardo da Vinci, and more (The Jim Weiss Audio Collection)
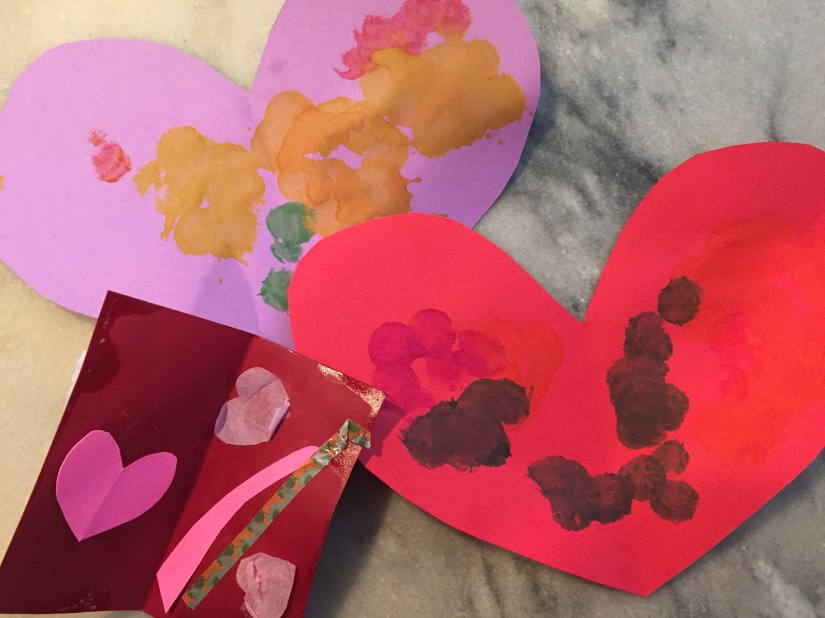
Valentine’s Day is such a special time of year to spread some love and cheer. It’s a time to celebrate love and friendship, to spend time together as a family crafting, baking, making Valentine’s, having tea parties and eating lot’s of chocolate! The kids and I have been busy making some holiday crafts and working on our Valentine’s, for each other, family and friends. This year more than ever, it’s extra special to send out some handmade Valentine’s to those who might need an extra reminder that they are not alone and are loved!
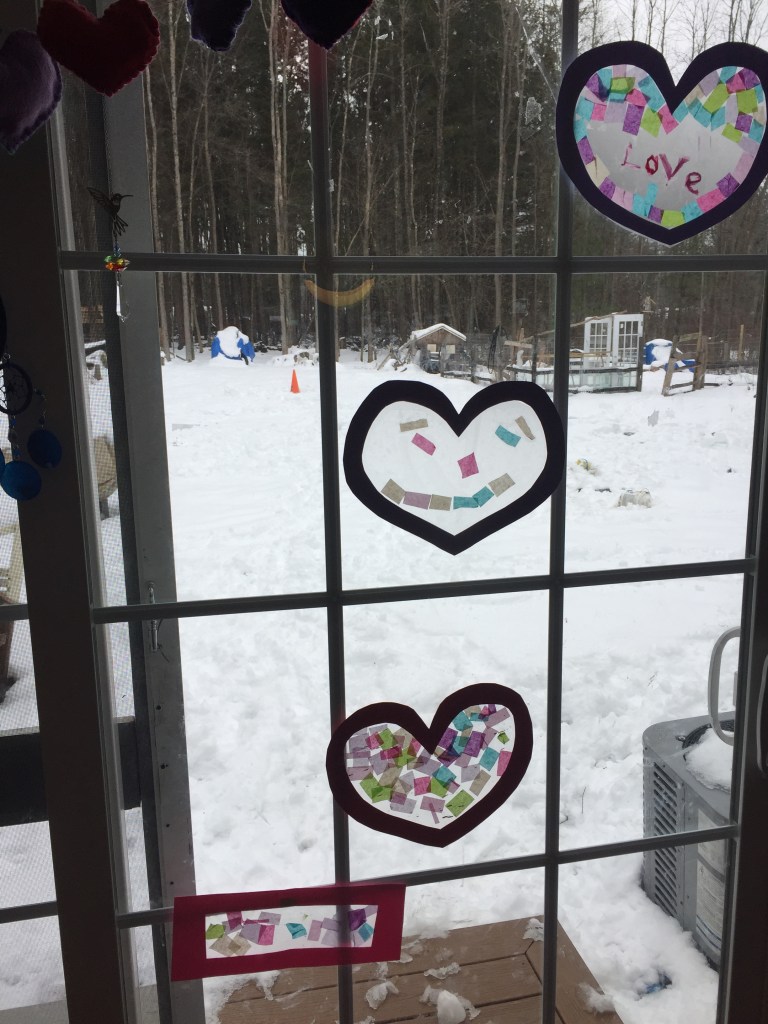
A favorite and simple craft for kids of all ages and one that is adaptable with the seasons and holidays is making sun-catchers for your windows. My kids love making these and never seem to run out of creative ideas for their festive sun-catchers. I particularly love seeing them light up our dining room like stained glass especially during the colder, darker winter months. All you need for this craft is some sturdy card-stock paper, contact paper, tissue paper and scissors.
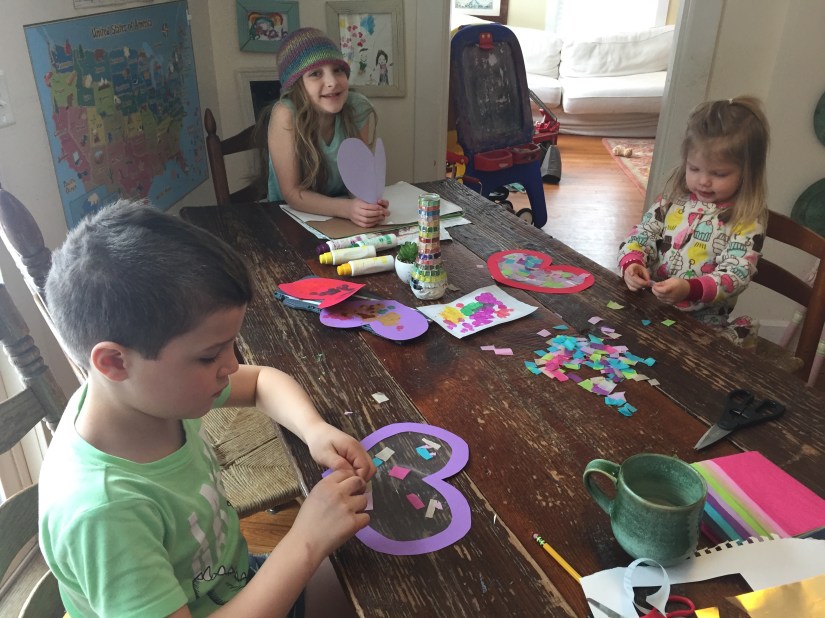
Busy at work
Directions:
First have either you or your child cut out the frame design out of card-stock. For the one above we made a heart.
Next, cut out your contact paper so that it will overlap a bit on the frame of your card-stock. Then, peel the paper off the contact paper to reveal the sticky side and stick it to the frame.
Cut up the tissue paper and stick it to the sticky side of the contact paper. It’s as easy as that!
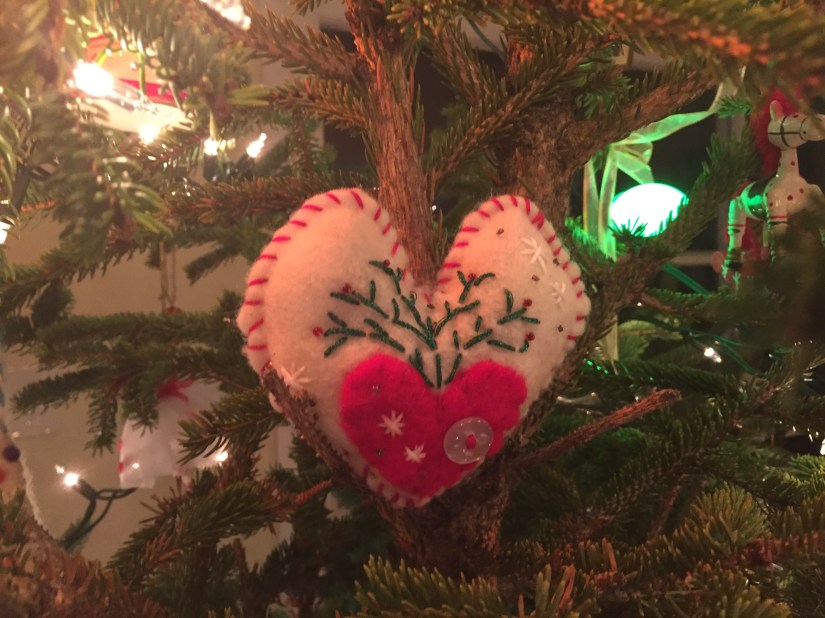
Another favorite in our house and a great way to introduce children to sewing is making hand-sewn felt hearts! Teaching your children to hand sew is one of the best skills you can give to them. It helps develop fine motor skills, builds self-confidence and patience. It also helps children practice communicating and following instructions along with encouraging them to use their imaginations and creativity. I have sat with all my children from an early age (2 or 3) and practiced hand sewing skills either with felt projects or lacing cards. It’s an activity that you can share in together with your child and as a family. We often gather round the dining table with our hand sewing supplies and listen to a good audio book or music and spend time crafting together. It is a calming and therapeutic activity.
Hand-sewn felt hearts
To make these felt hearts all you need is some felt, embroidery floss, fabric scissors, some stuffing (could be actually stuffing, or cut up old clothes) and a sewing needle.
Directions:
First have your child draw their design on the felt with chalk. Fold felt in half so that you can cut out two equal shapes at one time (the back and front of your project). Cut out design with fabric scissors.
Next, cut a medium-length strand of embroidery floss (not too long or the kids tend to knot or tangle). Layer your design one on top of the other and start sewing around the edges of the felt, leaving a 2-inch wide space open to fill with stuffing. If your child is young, you can help them push the needle through and pull it out always reminding them to pull the needle away from themselves.
After stuffing your design, then sew the gap closed. You can then run a string through the top to hang your stuffed creation. We made our Valentine Hearts and tied them to some yarn to hang together in the window as garland.
A Heart Jar
Like sun-catchers, another craft we love making for all seasons are jars decorated with tissue paper to put candles in and cozy up our home. This simple craft was made using a recycled jar, some tissue paper hearts and Elmer’s clear glue (modge podge and regular Elmer’s glue work well too and dry clear).
Directions:
Wash and dry a glass jar
Cut out tissue paper designs
brush glue with a paint brush onto jar, place tissue paper on the glue spot and then brush glue on top of tissue paper so that it won’t tear off easy. Spread glue over each spot at the time you are ready to adhere the tissue paper.
Let it dry
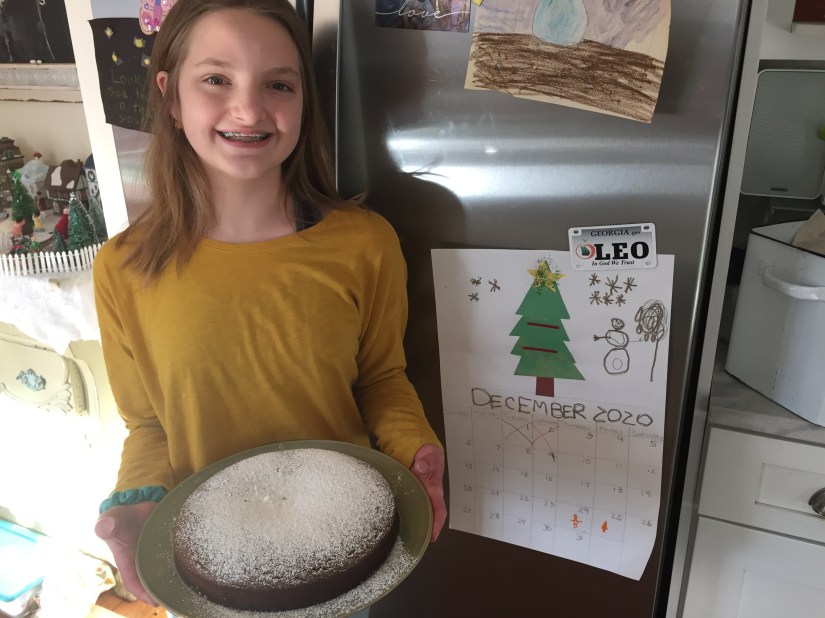
Leo’s handmade February Calendar with a heart mandala design
Bake a special treat, set the table for your Valentine’s Tea Party, put a candle in your Heart jar, gather round the table and share in some Love, Laughter, Valentine’s and Chocolate– Enjoy!
From our Family to Yours, Sending you all a day full of Friendship and Love
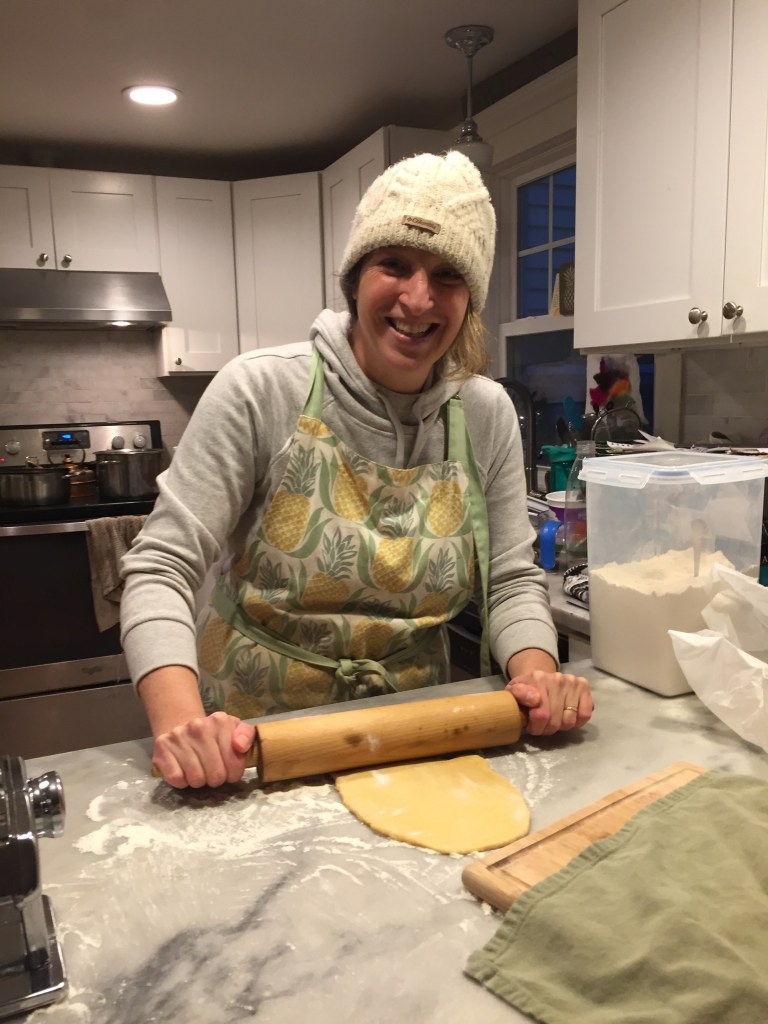
This Christmas, my wonderful husband surprised me with a pasta machine! I was truly surprised because even though it was something I’ve thought of purchasing over the years, I had never mentioned it. I know what you’re thinking, how could someone really be that excited about doing more work to get a simple meal like pasta on the table? Doesn’t she know that a box of pasta only costs less than $2.00? Call me crazy, but there’s something about making pasta from scratch that makes me feel as if I’ve stepped back in time into my great-grandmother’s kitchen in Italy and am taking part in a very sacred tradition.
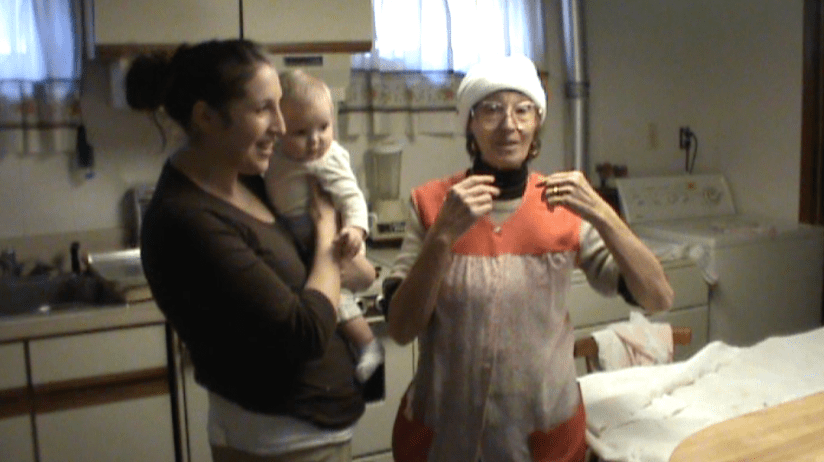
It’s truly amazing how emotions and memories can be triggered by traditions. I used to love going down into my Nonna’s basement kitchen around the holidays and crank the dough through the pasta machine to make fresh pasta and Italian Christmas cookies. My grandmother and her sister would put on their weathered aprons and enormous dollar store magnifying eye-glasses. Nonna would always pull her hair back in a handkerchief and Zia Rossa would have on a winter cap. For the pasta dough, Nonna never needed a recipe; It was engrained in her heart from her own childhood. The Christmas cookies were another story. She would pull out the smallest, crumpled piece of scrap paper with her recipe jotted down in Italian. She would always have a hard time reading her handwriting and ask me what I thought it said, I don’t speak Italian well, and am no better at reading it! Zia Rossa would soon chime in about how she used orange zest not orange juice and before you knew it, they were on the phone with a cousin in Italy to solve the dispute. Oh yes, a simple thing like a pasta machine can bring back so many memories.
y
Pictures from many years ago when Ava was just a baby and we made Italian Christmas cookies filled with chestnuts and chocolate – with Nonna and Zia Rosa Somehow I subconsciously must have been channeling my Zia Rossa as I too, wore my winter cap to make pasta!
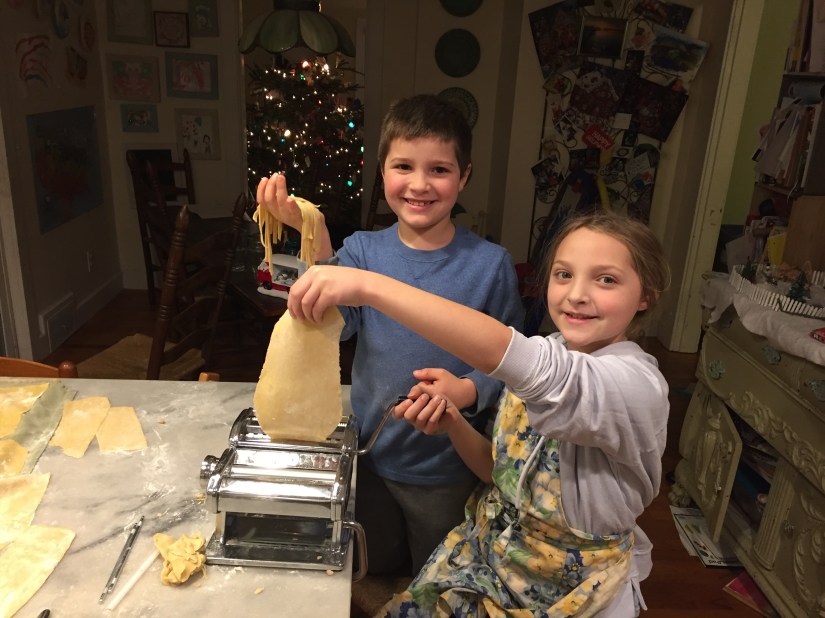
My excitement must have been contagious because everyone in our house wanted in on the pasta making fun. Fortunately, our dough came together beautifully. No real chemistry there, just a simple recipe of flour, egg, oil and a touch of salt. Yet, us rocket scientists had a hold up as we encountered a bit of trouble getting things rolling through the machine. If you’ve ever seen a pasta machine, the simple ones with the crank handle, there’s not much to them to figure out. We were pros at sending our rolled out dough through the first round of the machine flattening it out to the desired thickness. But, as we all anxiously awaited the final step that actually makes the fettuccini; Lily cranked the machine, Leo had his hands ready to grab the pasta as it came out… and nothing. Like a carousel ride, our pasta just kept going round and round the machine. Mike suggested I make the dough less sticky, so I patted it all down with a little flour and we tried again. Nope, the pasta kept going round and nothing came out. I took out the directions, yes, now I took out the directions, but there was no information in the ten different languages written that instructed you on how to put the machine together. Hmm, what were those little metal bars and plastic inserts for that were sitting on the counter? I just assumed they were to clean the machine. Good thing Mike is a contractor, because yes, a contractor is always good to have around especially when you are making pasta and need help figuring out where the missing parts fit into the machine!
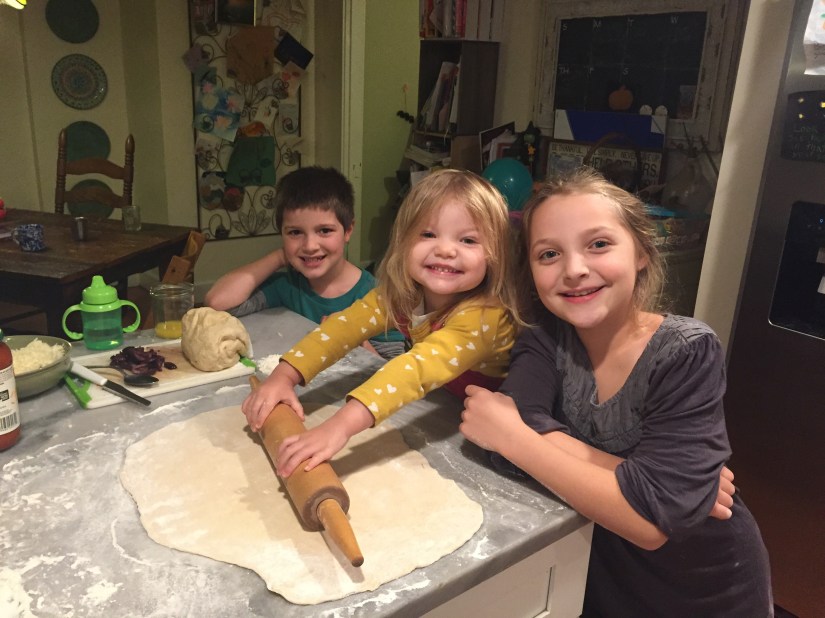
2-Year-Old Vivienne cranking out the dough
Leo & Lily channeled their Italian heritage and would have made their ancestors proud with their pasta making skills and enthusiasm!
The kids loved making pasta. I think they were truly amazed that they could make yet another thing on their own that we usually buy from the store – and that it could taste so good! The fettuccini was such a hit that a couple nights later we made homemade spinach ravioli and Leo made us all spaghetti!
If you’re feeling inspired, I encourage you to get that pasta machine, put on your apron and if you’re really feeling it, your winter cap and give pasta making a try! The memories you will be creating for your family are priceless.
Pasta Dough Recipe (makes about 1 pound of pasta)
Ingredients:
4 Eggs
1 1/2 Cups “OO” Flour
1 Cup All-Purpose Flour
1 Tablespoon Olive Oil
A pinch of salt
Instructions:
Add all ingredients to your food processor and pulse for about 10 seconds or until the mixture is crumbly in texture
Remove the dough and form into a ball with your hands. Then knead the dough on a lightly floured surface for a couple minutes until it is smooth and elastic. The dough should be pretty dry, but if is seems too wet, just add more flour a tablespoon at a time.
Form the dough into a ball and wrap it in parchment paper or plastic wrap. Let the dough rest at room temperature for about 30 minutes.
When dough is ready, roll it out into small rectangular shapes and run through your pasta machine to desired thickness for the pasta you are making (this is indicated in the pamphlet that comes with the machine). Then send the dough through the machine to be cut into your pasta shape!
*Fresh pasta will cook quicker than dried pasta – usually between 1-5 minutes depending on the thickness of your pasta.
*Our pasta machine is an Atlas 150 and now that I know how to use it – I really do love it!
“Tutti a tavola a mangiare”
(Everyone to the table to eat)
Below is a video (I found on Youtube) of my dad’s village in Italy preparing for the September festival to celebrate the Saint of their town. It is a tradition that dates back for centuries and is truly an honor to experience. People come from all the neighboring towns to celebrate and some, like mine, travel every year from the United States back to their village to visit family and friends and celebrate together. One of my favorite pasta making memories is visiting this village and making pasta with family and friends as we prepared for the festival. The first image in the video is of the remains of a church built in 1590 and the second stone building is the grain mill where my Nonna and her family would grind their grain into flour. Although this video is in Italian, you can still appreciate the work that goes into the festival and the joy of the people who make the village what it is! Wait until you see how much pasta they make!
And here’s a video I found to give a peek into the festival! After the church service, everyone processes through the town singing and circles back to the church to feast on all the amazing food and enjoy the music and festivities. If you visit Italy in the summer and early fall, you too could visit these historic villages in the mountains and enjoy a different festival almost every weekend!
A special message tucked into my farm share pick-up for the New Year
Yet again, during this great pandemic, there is a time to pause, reflect and reset. No global shutdowns this time, but the unavoidable passing of another year in time brings me to reflect on the preciousness of life. I usually find this time of year, with the beginning of fall and the holiday season leading into the new year as a great time for reflection. A busy time, but yet a time to try and slow the pace and reflect on what I am thankful for, a time to make more time for what I hold truly precious in my life and a time to embrace change.
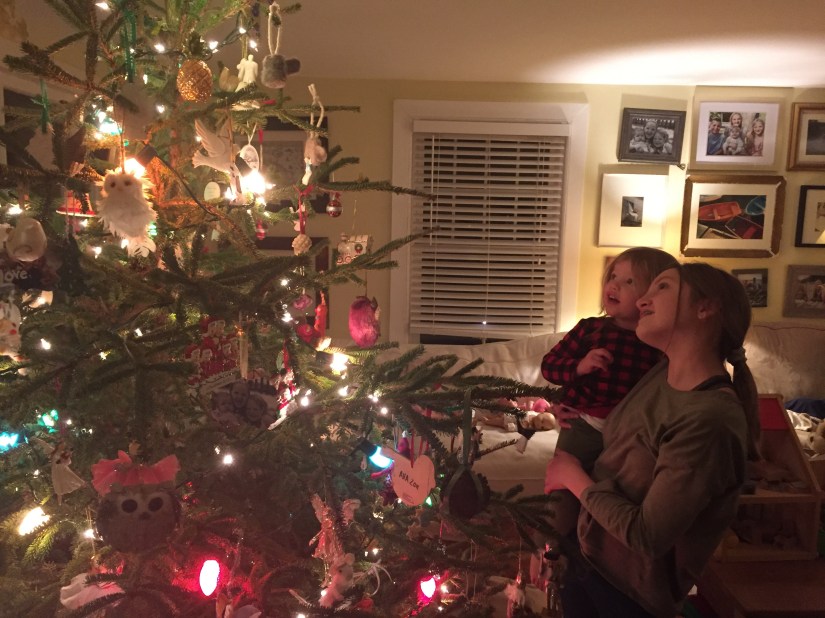
Our holiday season, although different, was very special. We found ways to connect with those we love and spread some holiday cheer. No germs, just cheer. The kids and I made many holiday breads and cards that we delivered to the doorsteps of family and friends. We surprised some lucky folks and sang Christmas carols on their snow covered front yards with our masks on! We put on our Christmas pajamas and watched Uncle Joe (Mike’s younger brother is a Franciscan priest), give the Christmas Eve Mass via zoom at his church in New Hampshire. We even lit candles and sang silent night with the lights out in the living room – a favorite Christmas Eve church tradition of ours. We had lots of zoom gatherings with family and friends. We spent time baking and making some special holiday meals together. Though we weren’t able to gather in person with our extended family, the time we took to connect, even if it was over zoom, felt all the more special and significant because our surroundings were less busy and we were able to spend quality time together in a very different way. Most often after a busy holiday gathering I feel exhausted and that I didn’t have enough time to visit with everyone. Strangely enough, I felt this holiday season we were all able to connect with so many loved ones in a really meaningful way. Kind of ironic, but I’ll take it!
2020 has not been easy and unfortunately, the hardships faced will not simply go away with the changing of the year, but we are getting there and I have hope. We are resilient by nature and finding ways to adapt to change and create new, beautiful memories amongst these trying times will help us all persevere and appreciate the simple gifts of life.
Hope is contagious and having it gives you the ability to face all things great and small.
As we prepared to celebrate 2021, the kids and I did something we do this time every year, we worked on our New Year Reflections and Resolutions. We write about things we’ve learned over the past year, new interests and challenges, something special that we did and we also write about what we’d like to learn in the new year; topics we’d like to explore, books we’d like to read, something new that we’d like to teach ourselves, somethings that we might like to change and do different, we set goals.
Leo’s homemade calendar for the new year
This years reflections were a bit different, and maybe you’ll find this true in your life too. We faced a lot of different challenges, a lot more has changed than usual and we did a lot more reflecting on how we want to live our lives and spend our time in the new year. Surprisingly, amongst the craziness of these times, the kids reflections were positive. My oldest two daughters have done a lot of soul searching for kids their age (11 & 9) and have been spending more time doing things that really fulfill them and exploring interests that we didn’t have time for during our normal homeschool days. There are things they look forward to returning to when the time allows and there are other things and even friendships that they realize weren’t fulfilling to them and feel more empowered to move past. They have also given more time toward nurturing and strengthening the relationships in their lives that they cherish, with each other, grandparents and close friends. All of the kids said they enjoy being less busy and having more down time at home and even enjoy spending more time together than we usually do! They miss traveling and seeing family and friends, but their resolutions were full of hope. They look forward to what the year ahead will bring and as children always have the gift of doing, they bring their joy and love of life to the present and to the future. As I looked up from my own resolutions scrawled on the paper in front of me; to worry less, to sleep more, to read more, to re-learn 6th grade math so I can teach it to Ava!…. staring at me from across the table sat my four simple joys of life – full of love, full of joy, full of hope. Looking at their sweet faces I knew, if they could make sacrifices, if they could find the good during hard times and if they could believe in the joys of tomorrow, than how could I not have hope. It’s a powerful thing, pass it on – our children, our societies and our world need it, now more than ever.
Praying you are all safe, loved and full of hope this New Year!
Nothing says Holiday Baking quite like some Old-Fashioned soft gingerbread! During a normal holiday season one of our favorite things to do is visit Old Sturbridge Village’s Christmas by Candlelight in Massachusetts. It is an amazing living history museum and their old-fashioned holiday celebration is truly a treasure of an experience. One of our favorite soft gingerbread recipes is adapted from a very old recipe found in The Good Housekeeper by Sarah Josepha Hale, 1841. I got this recipe at our last visit to Sturbridge Village and it has been one that we love to make during the holiday season.
Six teacups of flour, three cups of molasses, three cups of cream, two of butter, one tablespoon of pearls and the same of ginger. Bake in a quick oven about half an hour.
The Good Housekeeper by Sarah Josepha Hale, 1841
The Modern day method of making this soft gingerbread:
4 1/2 Cups Flour
1 Tablespoon Ginger
1 1/2 Teaspoons Baking soda
1 1/2 Teaspoons Cream of Tartar
2 1/4 Cup Cream
2 1/4 Cup Molases
1 1/2 Cup Butter
Preheat oven to 350 degrees. In a large bowl, sift together flour and ginger. Dissolve baking soda and cream of tartar in the cream. Cut butter into dry ingredients and blend thoroughly. Stir in cream mixture and molasses into dry ingredients. Pour into two greased 9-inch pans. Bake for 30-35 minutes or until cake tester comes out clean. Dust with Confectioners sugar and serve warm, but it’s also tasty after being chilled in the fridge!
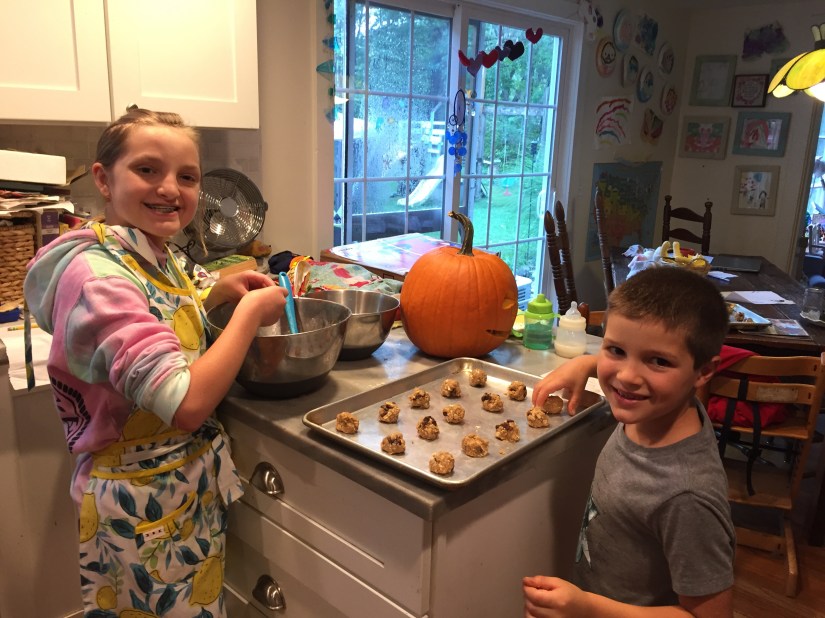
If you’re looking for a fun craft to do and book to read while enjoying your gingerbread, you can’t go wrong with The Gingerbread Baby by Jan Brett. An easy beginner sewing project to do with your children is to sew a felt or fabric gingerbread baby. Leo sewed this handsome gingerbread baby when he was 5 years old. He drew the pattern of the gingerbread baby with chalk onto some felt, we folded the fabric in half so that we would have two pieces the same size and cut it out with fabric scissors. He drew on a mouth and nose with fabric marker and we sewed on the button eyes together. Then, Leo sewed it together with a large needle and embroidery floss and stuffed it with batting – you could use old clothes or stuffing from an old pillow. It’s a lot of fun and a great beginner project to hand sewing!
I truly cherish these days home with the children. It is such a special time of year to slow down and reflect on the preciousness and joys of life. Something I feel all the more grateful for each day. Falling into a slower pace, spending more time baking, crafting, reading and eating fresh snow covered in maple syrup (a Leo and Lily special)! I find these special moments in life can bring such joy when our world is faced with such hardships. I somehow find the natural busyness of our household calming (and I don’t say that often)!
Over the years our family has taken on the tradition of making homemade gifts for each other. We still buy some gifts, but we’ve found that taking time to be together and work on surprises for each other and those we love is far more enjoyable and less stressful. It is a favorite time for us all because we’re working together and our time is centered around the family. I love seeing the joy it brings to each of the kids as they try and create something meaningful for someone they love. Sometimes we each make a gift for each person in the family or we pick someone we’d like to make something for and make sure it’s balanced so that everyone gets a homemade gift. We have found that this tradition has helped us all to think a little more about what you might like to do for someone else and not just about what you would like to get. Such a beautiful thing to cultivate is the heart of giving in this season. It helps us all feel closer to the reason for the season, the celebration of Christ’s birth and the gift that he’s given to us.
Homemade Rainbow play dough
Graham Cracker Gingerbread Houses
So, as you can imagine, during this time of year the house is a bustle with my little Christmas elves working on all their surprises. I can’t divulge all the clever projects the kids have in the works, but I can share some sweet handmade gift ideas of Christmases’ past and a few from the present!
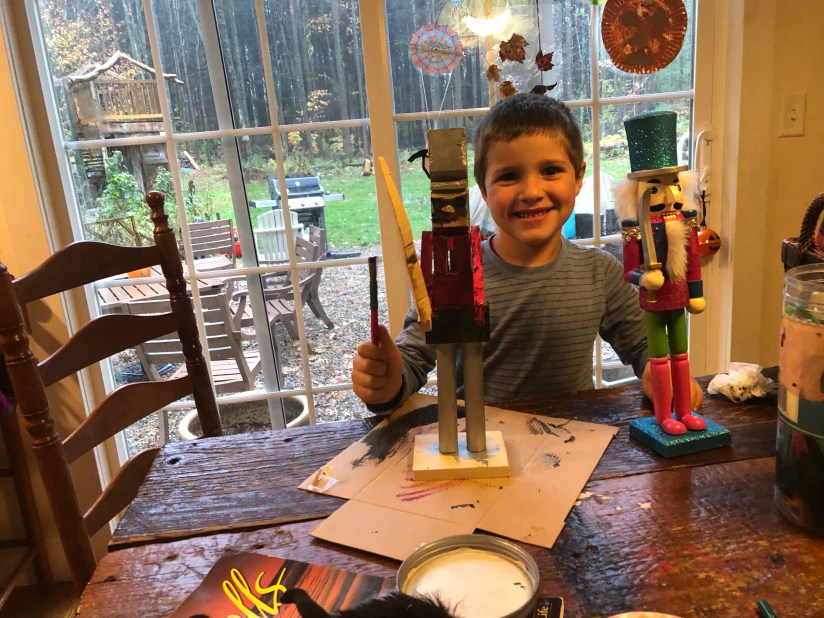
There is a lot of wood working going on in the shop this year and rumor has it that our head shop elf is working on some wooden stilts for the kids! Leo has also told me that he has some special wooden serving utensils he is making me on the shaving-horse, but it’s a surprise!
Leo and Lily have made Vivienne handmade blocks that they sanded and painted. Lily sewed a beautiful bag to hold the blocks. Mike’s lips are sealed as to any other wood shop creations, but if you’re looking for some other woodworking gift ideas to make with your children, cutting boards and birds houses are a favorite around here – along with homemade Nutcrackers!
There has also been a lot of sewing happening in the house and rumor has it that I might get some new cloth napkins for the kitchen!
We’ve also been busy with some crochet and knitting gift projects. Leo and I have been working together to knit a hat for Vivienne. It’s Leo’s first big knitting project and he had all the best intentions of doing it himself, but as we move forward, he keeps telling me he can’t believe how much work goes into making this hat! So, he knits a row here and there and I have been asked to knit most of it, but he’s always there, sitting beside me for moral support.
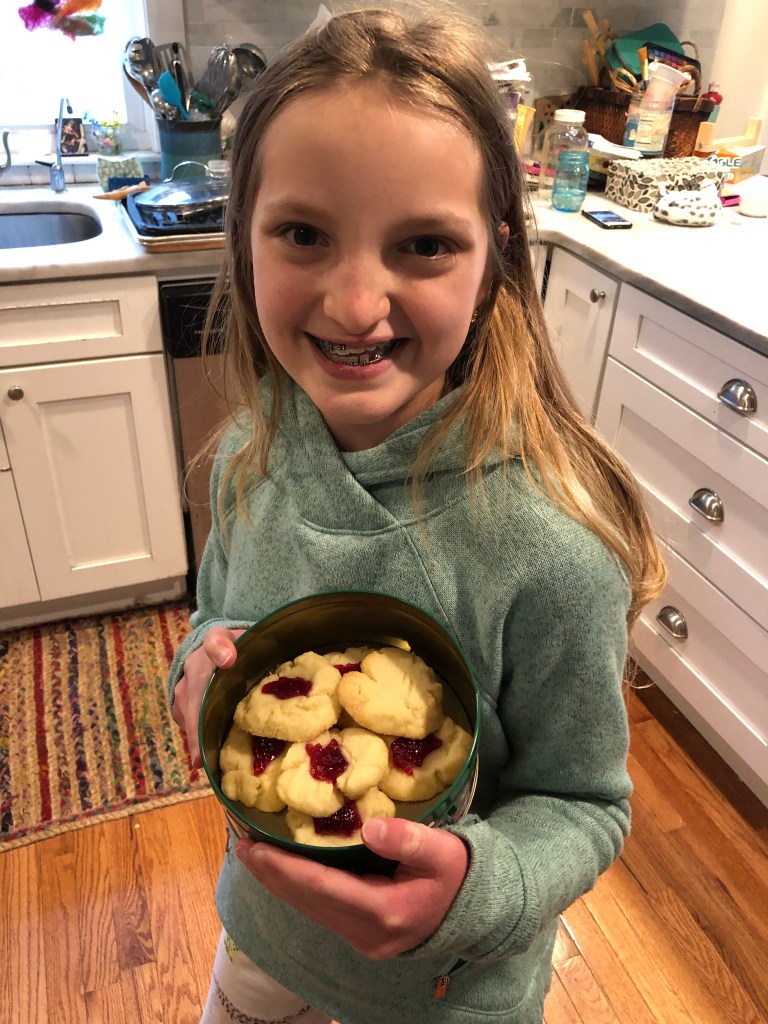
There has been lots of crafting, painting, jewelry making, and even some homemade confections. Lily loves making homemade chocolates and for Christmas she is working on some special tins filled with her sweet treats including chocolate covered pretzels!
The very early stages of our baby doll making adventure!
Lily and I have also taken on the challenge of making Vivienne a handcrafted Waldorf doll. We purchased a kit from Weir Crafts and it’s been fun, exciting and a challenge! Fingers crossed it ends up looking like a doll and that we finish on time!
Handmade beeswax candles
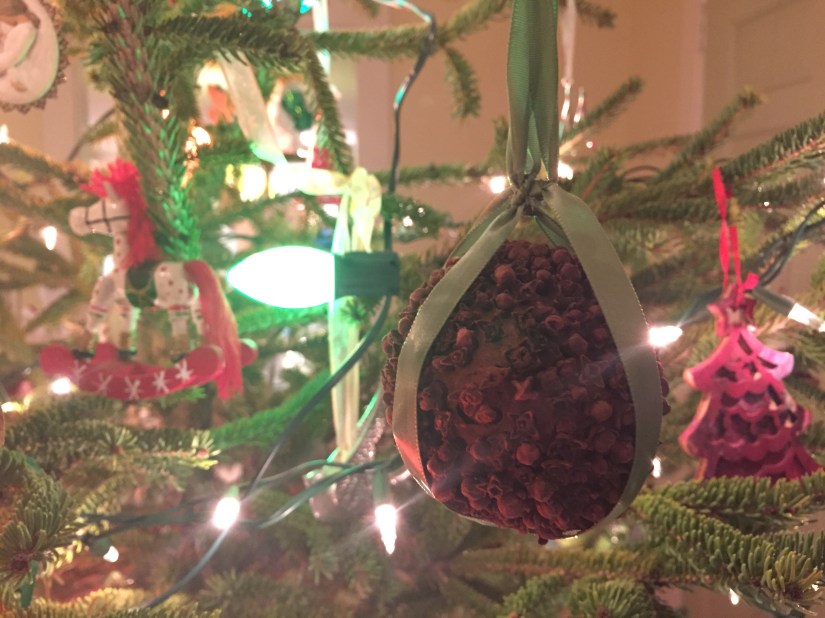
A handmade wooden ornament
Some other homemade holiday gifts we’ve enjoyed making over the years are beeswax candles, hand salves and lip balms, handmade journals, Christmas ornaments and framing favorite poems or quotes for one another.
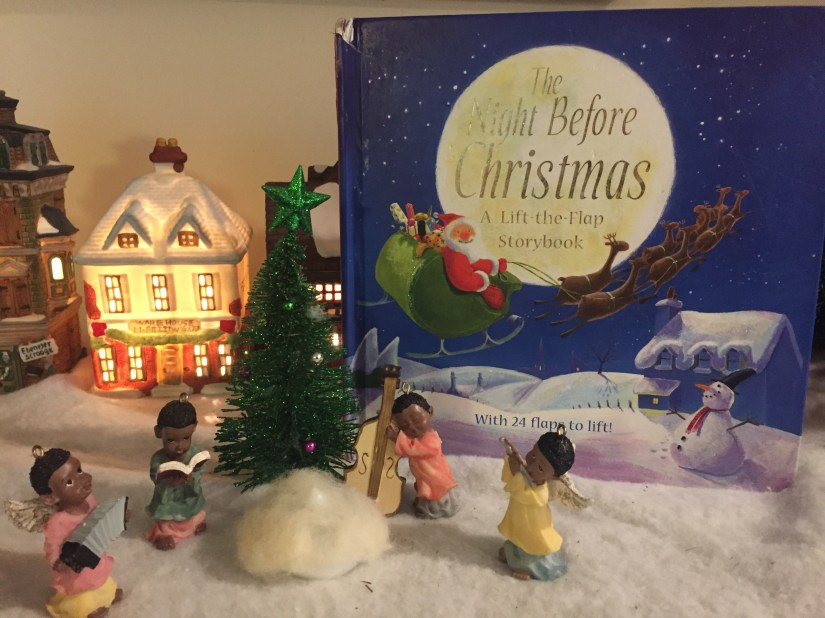
As a special Christmas Eve gift for Mike and I, the kids are working on memorizing and performing ‘The Night Before Christmas.’ They have been gathering props and making their costumes and practicing their lines with excited anticipation for the performance. Tickets are being made and we’ve been told there is limited seating and free cookies for the first two guests seated! Have to love the creativity that springs from times during social distancing.
If you’re looking to give something homemade, but doing it yourself isn’t really an option, there are a lot of ways to support small businesses and purchase handmade gifts during these times. Some great ideas are buying from local small businesses in your town that offer shipping or curbside pick-up. Etsy is also a great place to shop small, handmade businesses. Purchasing CSA shares or gift cards to local farm shares is another buy local idea.
We also love giving books, to the kids and to each other. Giving a gift you can learn from is really a great gift. Games and puzzles are also another favorite gift to receive in our house. Everyone loves the gift of food! We do a lot of baking this time of year; homemade breads, cookies, quick breads, homemade soups in mason jars and fresh cheese or butter are all great gifts for neighbors, friends and family!
For it is in Giving that we Receive
St. Francis of Assisi
May the gift of Giving and the Joys of the Season fill your homes with
Elderberry’s are really quite an amazing plant with numerous health benefits. I have been using the syrup for years to help boost our family’s immune system during the fall and winter seasons. Elderberries are known to fight and protect your immune system against bacterial and viral infections along with reducing the symptoms and duration of the common cold and flu. They are anti-inflammatory, anti-carcinogenic and are high in vitamin A, which is great for healthy skin. Purchasing organic Elderberry syrup can get expensive, so I’ve tried making it at home and the product was easy to make and tastes delicious!
If you’d like to give it a try here’s what you’ll need.
Ingredients:
1 Cup dried organic elderberries
4 Cups water
1 Cup Raw Honey
1/4 Cup lemon juice
dash of cayenne pepper
1 Tbsp grated fresh ginger (dried ginger can be substituted)
1 cinnamon stick (optional)
Directions:
Add 1 Cup dried elderberries, ginger, cinnamon stick and 4 Cups water to a medium sized sauce pan and bring to a boil. Once boiling, reduce heat and simmer for about 45 minutes to an hour.
After elderberries have simmered for 45 minutes to an hour, pour the liquid through a mesh colander into a bowl and mash elderberries over bowl in the strainer to be sure to get out all the juice from the berries. Remove cinnamon stick if used.
Add 1 Cup raw honey, 1/4 cup lemon juice and dash of cayenne pepper and mix together
Pour liquid into a clean mason jar and keep in the refrigerator for 1-2 months. Adults take 1 Tbsp. daily and children 2 and up take 1 tsp daily. Children under 1 year should not consume raw honey, so if making for younger children add honey that isn’t raw. If you have a cold or feel one coming on, take 1 Tbsp/Tsp every two hours until cold subsides (up to 4 Tbsp/tsp a day). *Raw honey has many nutritional benefits that add to the syrup, cayenne, lemon juice and ginger add some heat, which helps the syrup activate when consumed. The cinnamon stick is for flavor.
For most of us, the holiday season may not look the same this year. Traditions we hold dear to our hearts may not be safe, like gathering together and celebrating the joys of life or sharing in a hug or a good meal. Change isn’t easy. Making hard choices isn’t either, but keeping those we hold dear to us safe is a courageous task. Making sacrifices for the better of humanity and our communities as a whole is admirable. Even though things may not look the same, I hope that in your lives there is so much to be grateful for. During this time of year, there are so many great lessons to be had about life’s blessings and joy.
I always find this time of year so very special for reflecting on life and gratitude. Although adjusting to the time change can be a challenge in our house, I love the natural slowing down of the rhythm of our household as we follow the seasonal rhythm of nature around us. As darkness falls earlier, we all gather for an early dinner and enjoy special family time baking, crafting, playing games and reading together by the coziness of the fire.
Although, certain traditions have been challenged this year, there are some that remain that have become even more precious and cherished; like family and our time shared together. The holiday season is an incredibly special time for reflection. Some traditions that the kids and I have maintained that help us to continue some routine are exploring topics during the fall and winter seasons that help us to reflect on hardship, resilience, gratitude and hope.
We usually start off the school year and fall season by studying the first settlers in our country, the voyage and hardships of the pilgrims and those that traveled out west along with the courage and strength of the Native American tribes in America. Some of our favorite books with great stories and projects are: A Pioneer Thanksgiving and A Pioneer Christmas by Barbara Greenwood, American Kids in History Colonial Days by David C. King, Earth Maker’s Lodge: Native American Folklore, Activities and Foods by E. Barrie Kavasch and North American Indians; The Hands-on Approach to History by Andrew Haslam and Alexandra Parsons.
We also take this time to do a lot of free writing in our journals. Sometimes I give the kids writing prompts asking them to put themselves in the shoes of one of the characters in the stories we are reading, having them reflect on how they may have acted or felt, we sometimes write poetry or short stories based on our readings, they have also written their own creative legends inspired by the Native American legends we’ve read. One of our favorite things to do is make costumes and perform a play, either one the kids have created or a story from our readings. We craft and bake and try out some recipes from the pioneers and the Native Americans; fresh gingerbread, plum pudding, corn husk dolls, making Native American housing and Christmas Pomanders, woven baskets out of raffia, vases out of clay and we’ve even made our own loom and done some weaving!
A project I try to do each year with the kids is to make some ‘Gratitude Buntings.’ We simply cut some twill fabric into triangle or rectangle shapes, make apple prints or paint them and then write something we are grateful for on them. We then attach the buntings to some yarn with a glue gun and hang them either in the dining room or on our mantel throughout the holiday season.
If you’re looking for some great read aloud stories or independent reading for your older children some books we have enjoyed are: Caddie Woodlawn by Carol Ryrie Brink and Children of the Longhouse by Joseph Bruchac.
The books below are also some great read aloud’s for children of all ages.
Giving Thanks by Chief Jake Swamp and America’s Real First Thanksgiving by Robin GioiaSquanto’s Journey by Joseph Bruchac
Earthmaker, help us to cherish these gifts that surround us and to share our blessings with our brothers and our sisters so that our world is continually blessed.
Native American Blessing
During these uncertain times I have found that we are reminded of our own human resilience as we study those of our ancestors. Human beings have been through this before and we will make it through. The journey may not be easy, but it will make us stronger as individuals and as families. Everything we know and love that is missed, will be cherished even more when the time allows it to return to us. Have Hope, stay safe and strong and may you be surrounded by life’s blessings and gratitude.
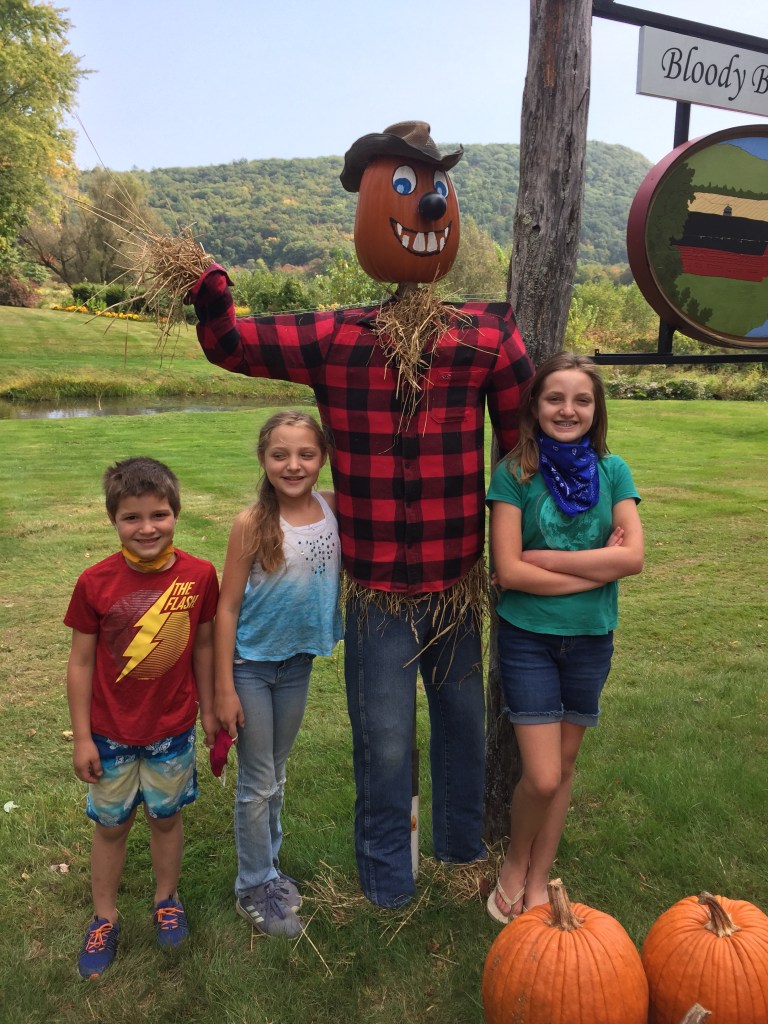
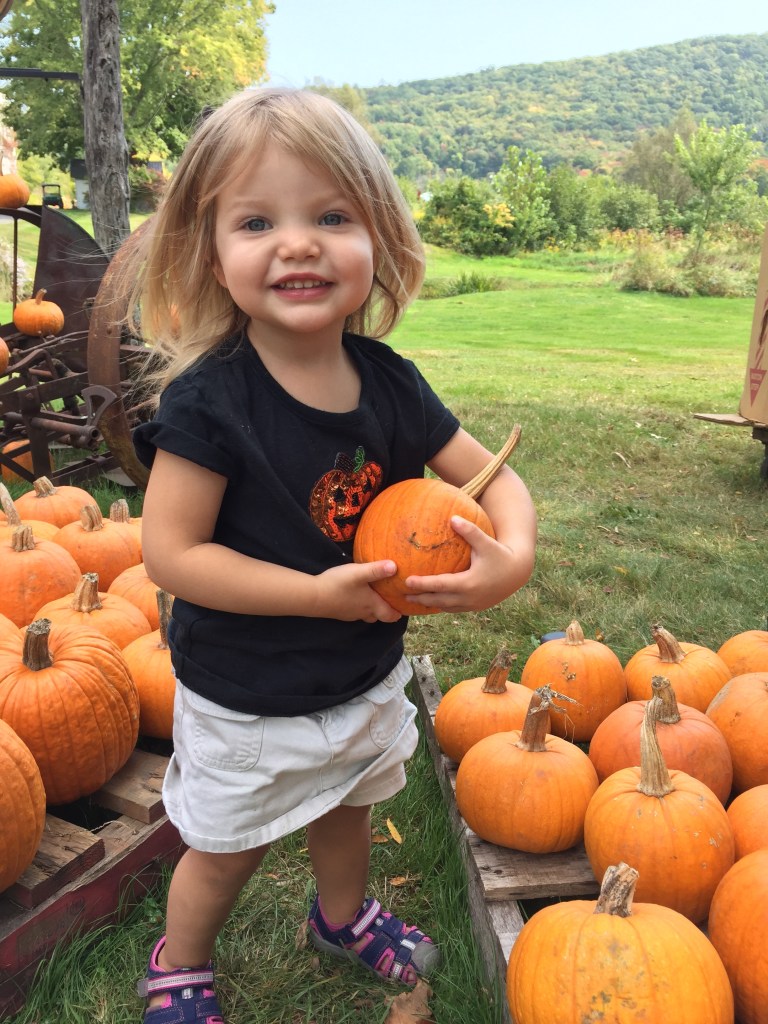
Fall is always a special time of year. We look forward to all the local fall festivals, pumpkin and apple picking, baking, crafting and working on our Halloween costumes. This year with the current pandemic and social distancing, we’ve had to get a little more creative with our fall activities, but surprisingly the kids are ever resilient and have come up with some clever and creative ways to keep things exciting! I hope some of these fun ideas add to your Halloween Festivities!
Leo put together a fall festival for us all with a pumpkin rolling contest, a hay ride on his peddle tractor, bouncing in the bounce house and even a picture booth he painted and made from a cardboard box!
He and Lily also set up an archery station with bails of hay creating a fun family archery challenge.
The kids have been putting together their homemade costumes and since we won’t be able to trick-or-treat this year, they have decided that they will change costumes and visit our front door a couple times! This idea has actually worked out well for those who can’t commit to one costume!
Lily the 80’s Rockstar
To add some science and math to our Halloween fun, we made magic math ghosts and pumpkins. To do this, draw some pumpkins and ghosts on watercolor paper and write some math equations for your child to solve. Write the answers in white crayon and after your child has solved the problems, have them watercolor paint over the hidden answers and watch them appear like magic!
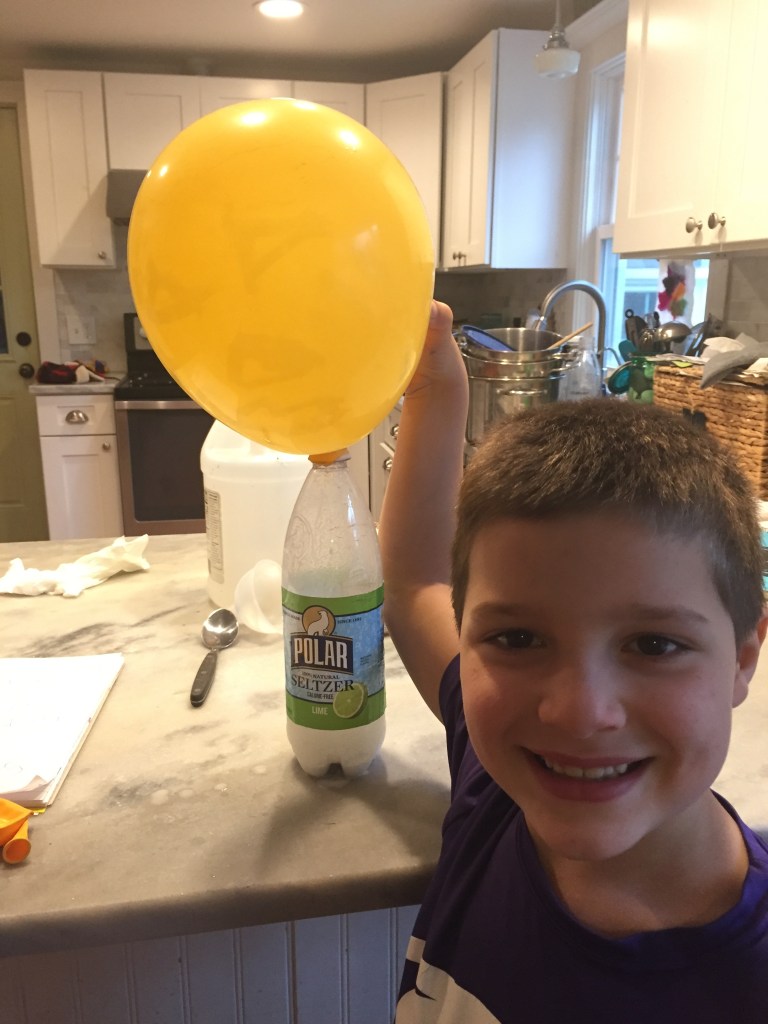
We had some science fun by blowing up orange pumpkin balloons with gas! This is a simple science project using an empty plastic bottle, vinegar and baking soda. To do this, add 1/3 cup vinegar to the empty bottle, have your child draw a pumpkin face on the balloon, use a funnel to add two tablespoons baking soda to the balloon, put the balloon around the plastic bottle top and stand the balloon up so that the baking soda falls to the bottom of the bottle – the chemical reaction will instantly inflate the balloon!
We also made some tissue paper pumpkin piñata’s to fill with Halloween surprises that the kids will search for on a Halloween Treasure Hunt! To make the piñata’s we used balloons and modge-podged 3-4 layers of orange tissue paper. Once they are dry you can pop the balloon, fill it up with treats and then modge-podge a couple layers over the opening to seal it up. The kids gave their pumpkins faces, which you can do with marker or glue on with construction or tissue paper.
Last, but not least, we always carve pumpkins on Halloween! Light them up and bring them indoors – it adds a cozy atmosphere for telling stories as you wind down the night!