Looking for something special to make for Dad this Father’s Day – If you’ve never tried Strawberry Rhubarb Crisp (with rhubarb & strawberries fresh picked from the garden), it’s a fantastic treat you’re sure to look forward to every spring!
Rhubarb is rich in antioxidants that have anti-bacterial, anti-inflammatory and anti-cancer properties. It’s extremely easy to grow. It’s a perennial that requires little work and comes back every spring for you to enjoy. You can eat it raw, straight from the garden, but it has an extremely bitter taste. Our favorite ways to enjoy rhubarb in our house are in Strawberry Rhubarb Oatmeal muffins, Strawberry, Rhubarb Apple Sauce and Strawberry Rhubarb Crisp! Below is our Strawberry Rhubarb Crisp recipe! Enjoy!
Strawberry Rhubarb Crisp:
Ingredients:
2 to 3 Cups Rhubarb diced
3 Cups Strawberries diced
1 Cup Sugar
3 Tablespoons Flour
For the Crumb Topping:
1 1/2 Cup All Purpose Flour
1 Cup Packed Brown Sugar
1 Cup Old-Fashioned Rolled Oats
1 Cup Butter at room temperature
Preheat oven to 375 degrees
Mix Rhubarb, Strawberries, Sugar and 3Tbs. Flour in a bowl and put into a 9×13 baking dish
Make Crumb topping by combining, Flour, B. Sugar, Oats and Butter. Mix with hands until crumbs form.
Sprinkle topping all over the Rhubarb Strawberry mixture
Bake in oven for 45 minutes or until topping is golden and mixture is bubbling
Our favorite is to top it off with some vanilla ice cream!
Wishing you all a Very Special Father’s Day Full of Love, Sunshine and Something Sweet!
Any man can be a father, but it takes someone Special to be a Dad.
Spring; A time for Reflection, Renewal, Rebirth and JOY!
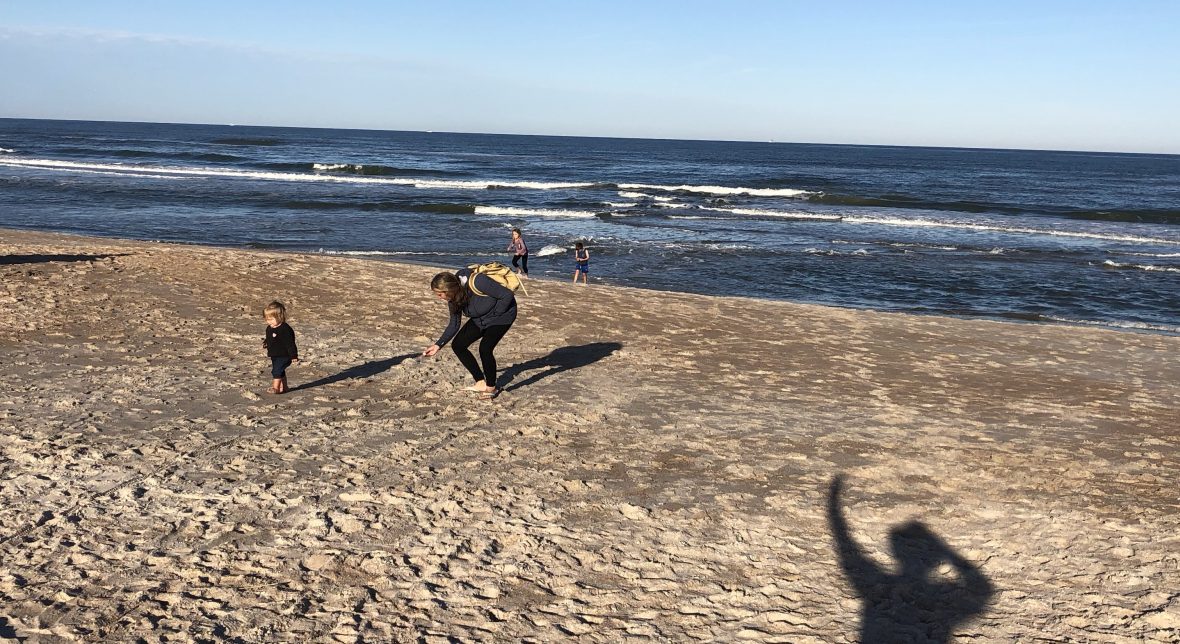
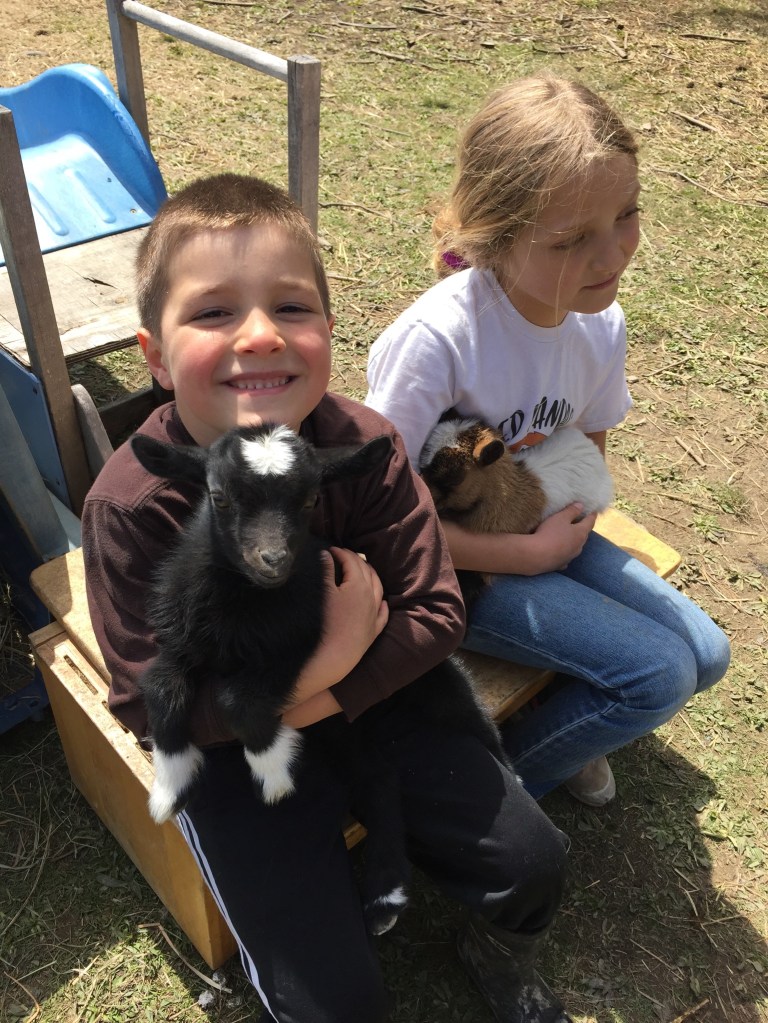
Our house is a buzz with Spring Feaver! Spring has sprung; crocuses and daffodils are springing up in the garden beds, buds are popping out on the trees, garden seeds are getting started indoors, the chickens are laying eggs again, baby goats are being born on the farm across the street, it is a time of renewal, rebirth and joy! After a long winter and a time of great reflection, the earth reminds us that brighter days are ahead.
Dying eggs for Easter is an age old tradition. In some European countries children place fresh leaves onto the eggs wrap them in gauze, tie a string around it and place it in a pot of boiling water and onion skins. When unwrapped the beautiful image of the leaves are impressed onto the eggs. It is no surprise that eggs, symbolic of new life, have become tied to the Easter theme of rebirth. Many European cultures dye the eggs red to symbolize the blood of Christ and serve the hard boiled eggs with their Easter meals. We have tried many different egg dying techniques over the years and a favorite around here at the moment is dropping bits of crayon shavings onto the hot eggs to melt into beautiful, bright colors spread across the egg and then dip them in some food coloring and vinegar water to add an added splash of color and joy in honor of spring.
Butterscotch & Chocolate Birds Nest
Butterscotch Birds Nests
These are a tradition around here to celebrate spring and Easter. They are a favorite from my childhood and a no-bake treat that my kids look forward to making every year!
Ingredients:
1/2 Cup Chocolate chips
1/2 Cup Butterscotch chips
3 Cups Chow Mein Noodles
Cadbury mini Easter egg candy
Directions:
Melt chocolate & butterscotch chips in a double boiler on the stove top
When chocolate mixture is melted, add the chow mien noodles and mix
Line a muffin tin with cupcake paper and spoon small scoops of noodle mixture in nest like shapes into tin
Place Cadbury eggs in center and let cool
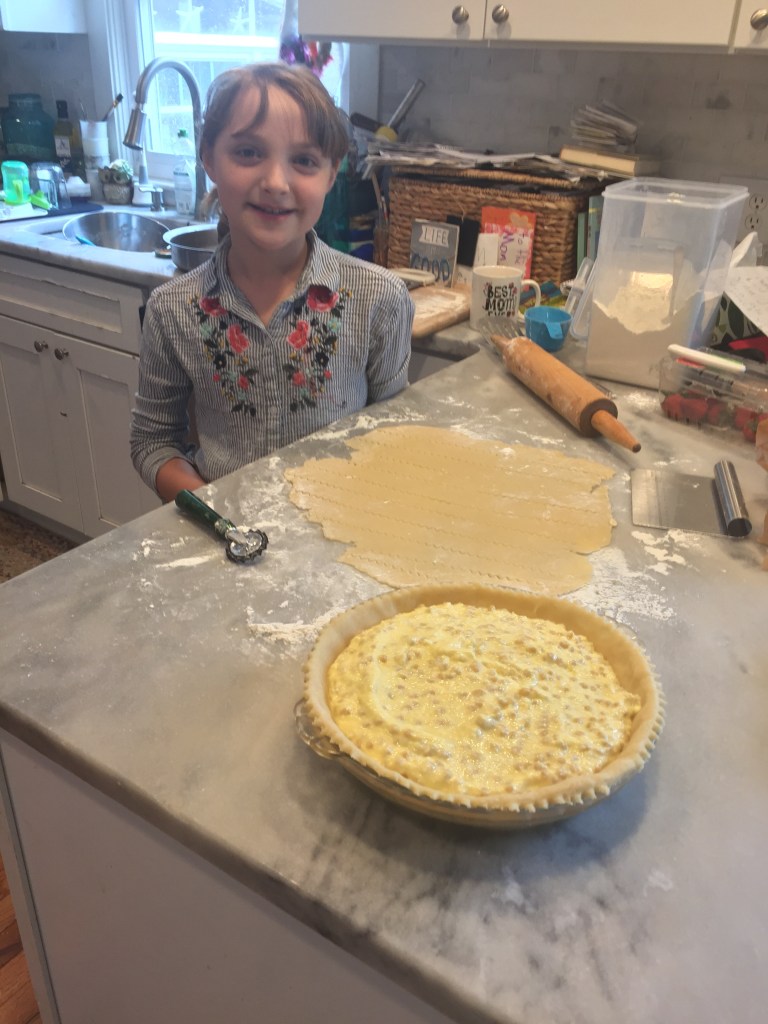
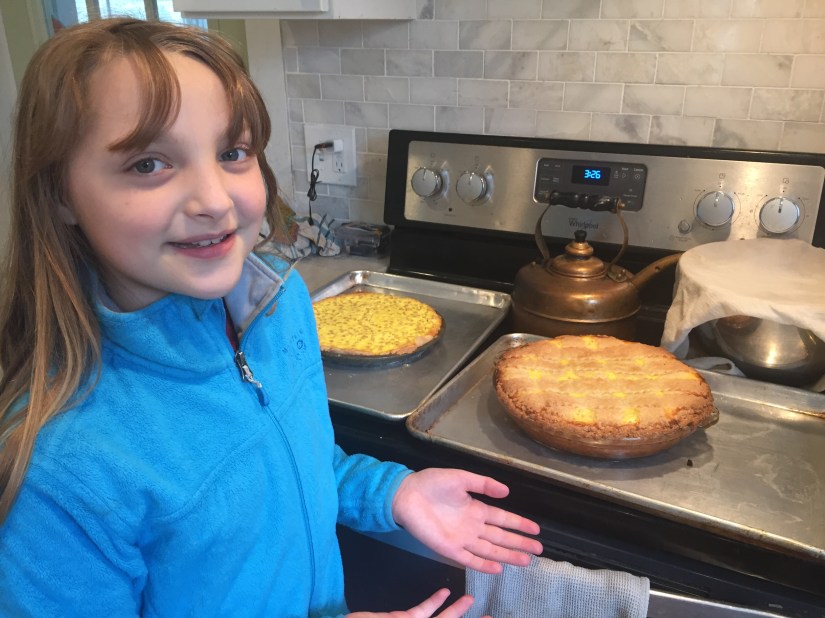
Lily making Italian Easter Wheat Pie “Pastiera di Grano” A favorite from my childhood that my Nonna would make.
This is a traditional Italian Easter pie made using wheat berries, ricotta, lemon zest, eggs, sugar and vanilla. The taste and smell of it baking brings me back to my childhood Easter gatherings at my Nonna’s house. I haven’t yet mastered making it as good as my Nonna’s and not sure that I ever will, but we’re working on it each year!
A great historical educational program that we really enjoyed watching is Rick Steve’s European Easter. Full of history, tradition and Hope.
Wishing you all a Blessed Easter and a Rejuvenating Spring!
Brighter Days are Ahead!
“The beautiful spring came; and when Nature resumes her loveliness, the human soul is apt to revive also.”
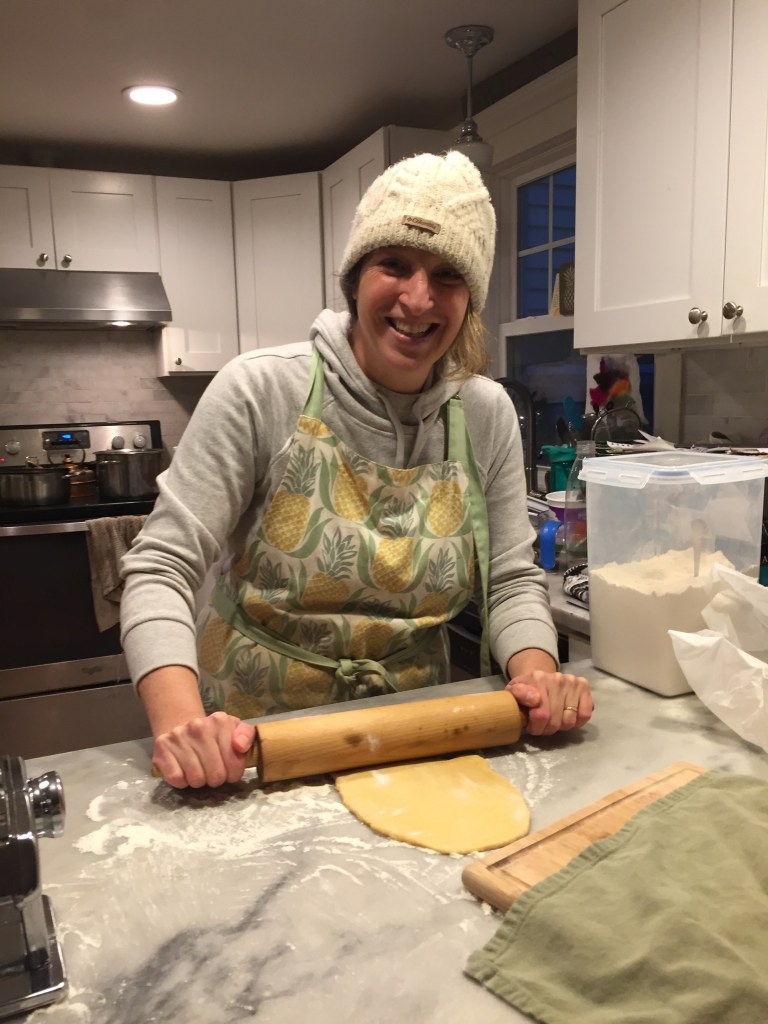
This Christmas, my wonderful husband surprised me with a pasta machine! I was truly surprised because even though it was something I’ve thought of purchasing over the years, I had never mentioned it. I know what you’re thinking, how could someone really be that excited about doing more work to get a simple meal like pasta on the table? Doesn’t she know that a box of pasta only costs less than $2.00? Call me crazy, but there’s something about making pasta from scratch that makes me feel as if I’ve stepped back in time into my great-grandmother’s kitchen in Italy and am taking part in a very sacred tradition.
It’s truly amazing how emotions and memories can be triggered by traditions. I used to love going down into my Nonna’s basement kitchen around the holidays and crank the dough through the pasta machine to make fresh pasta and Italian Christmas cookies. My grandmother and her sister would put on their weathered aprons and enormous dollar store magnifying eye-glasses. Nonna would always pull her hair back in a handkerchief and Zia Rossa would have on a winter cap. For the pasta dough, Nonna never needed a recipe; It was engrained in her heart from her own childhood. The Christmas cookies were another story. She would pull out the smallest, crumpled piece of scrap paper with her recipe jotted down in Italian. She would always have a hard time reading her handwriting and ask me what I thought it said, I don’t speak Italian well, and am no better at reading it! Zia Rossa would soon chime in about how she used orange zest not orange juice and before you knew it, they were on the phone with a cousin in Italy to solve the dispute. Oh yes, a simple thing like a pasta machine can bring back so many memories.
y
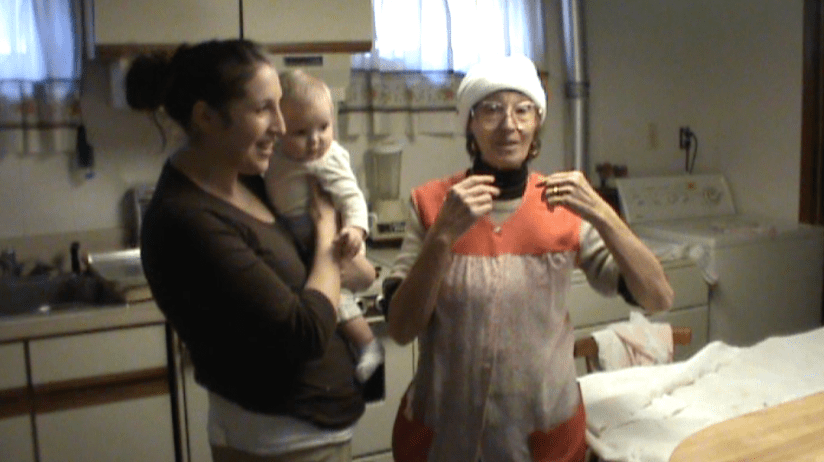
Pictures from many years ago when Ava was just a baby and we made Italian Christmas cookies filled with chestnuts and chocolate – with Nonna and Zia Rosa Somehow I subconsciously must have been channeling my Zia Rossa as I too, wore my winter cap to make pasta!
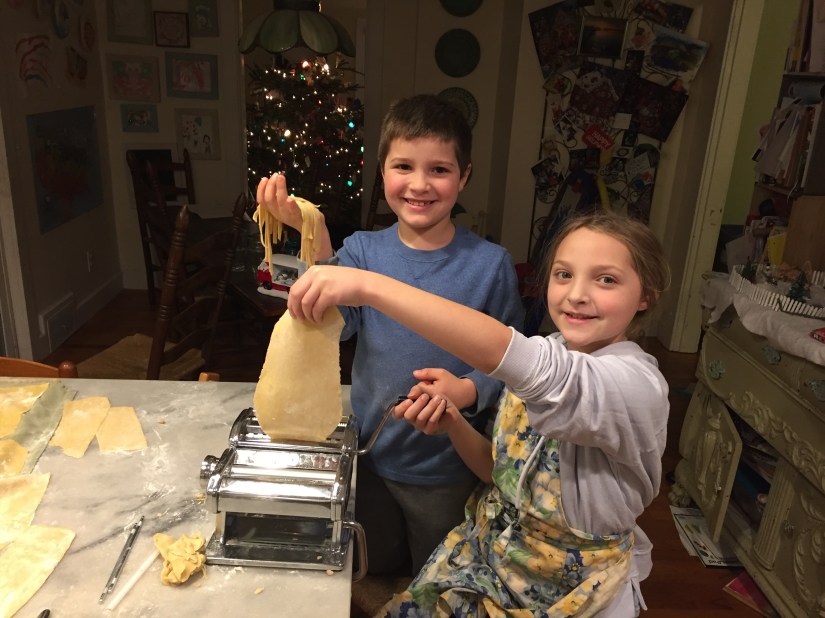
My excitement must have been contagious because everyone in our house wanted in on the pasta making fun. Fortunately, our dough came together beautifully. No real chemistry there, just a simple recipe of flour, egg, oil and a touch of salt. Yet, us rocket scientists had a hold up as we encountered a bit of trouble getting things rolling through the machine. If you’ve ever seen a pasta machine, the simple ones with the crank handle, there’s not much to them to figure out. We were pros at sending our rolled out dough through the first round of the machine flattening it out to the desired thickness. But, as we all anxiously awaited the final step that actually makes the fettuccini; Lily cranked the machine, Leo had his hands ready to grab the pasta as it came out… and nothing. Like a carousel ride, our pasta just kept going round and round the machine. Mike suggested I make the dough less sticky, so I patted it all down with a little flour and we tried again. Nope, the pasta kept going round and nothing came out. I took out the directions, yes, now I took out the directions, but there was no information in the ten different languages written that instructed you on how to put the machine together. Hmm, what were those little metal bars and plastic inserts for that were sitting on the counter? I just assumed they were to clean the machine. Good thing Mike is a contractor, because yes, a contractor is always good to have around especially when you are making pasta and need help figuring out where the missing parts fit into the machine!
2-Year-Old Vivienne cranking out the dough
Leo & Lily channeled their Italian heritage and would have made their ancestors proud with their pasta making skills and enthusiasm!
The kids loved making pasta. I think they were truly amazed that they could make yet another thing on their own that we usually buy from the store – and that it could taste so good! The fettuccini was such a hit that a couple nights later we made homemade spinach ravioli and Leo made us all spaghetti!
If you’re feeling inspired, I encourage you to get that pasta machine, put on your apron and if you’re really feeling it, your winter cap and give pasta making a try! The memories you will be creating for your family are priceless.
Pasta Dough Recipe (makes about 1 pound of pasta)
Ingredients:
4 Eggs
1 1/2 Cups “OO” Flour
1 Cup All-Purpose Flour
1 Tablespoon Olive Oil
A pinch of salt
Instructions:
Add all ingredients to your food processor and pulse for about 10 seconds or until the mixture is crumbly in texture
Remove the dough and form into a ball with your hands. Then knead the dough on a lightly floured surface for a couple minutes until it is smooth and elastic. The dough should be pretty dry, but if is seems too wet, just add more flour a tablespoon at a time.
Form the dough into a ball and wrap it in parchment paper or plastic wrap. Let the dough rest at room temperature for about 30 minutes.
When dough is ready, roll it out into small rectangular shapes and run through your pasta machine to desired thickness for the pasta you are making (this is indicated in the pamphlet that comes with the machine). Then send the dough through the machine to be cut into your pasta shape!
*Fresh pasta will cook quicker than dried pasta – usually between 1-5 minutes depending on the thickness of your pasta.
*Our pasta machine is an Atlas 150 and now that I know how to use it – I really do love it!
“Tutti a tavola a mangiare”
(Everyone to the table to eat)
Below is a video (I found on Youtube) of my dad’s village in Italy preparing for the September festival to celebrate the Saint of their town. It is a tradition that dates back for centuries and is truly an honor to experience. People come from all the neighboring towns to celebrate and some, like mine, travel every year from the United States back to their village to visit family and friends and celebrate together. One of my favorite pasta making memories is visiting this village and making pasta with family and friends as we prepared for the festival. The first image in the video is of the remains of a church built in 1590 and the second stone building is the grain mill where my Nonna and her family would grind their grain into flour. Although this video is in Italian, you can still appreciate the work that goes into the festival and the joy of the people who make the village what it is! Wait until you see how much pasta they make!
And here’s a video I found to give a peek into the festival! After the church service, everyone processes through the town singing and circles back to the church to feast on all the amazing food and enjoy the music and festivities. If you visit Italy in the summer and early fall, you too could visit these historic villages in the mountains and enjoy a different festival almost every weekend!
I truly cherish these days home with the children. It is such a special time of year to slow down and reflect on the preciousness and joys of life. Something I feel all the more grateful for each day. Falling into a slower pace, spending more time baking, crafting, reading and eating fresh snow covered in maple syrup (a Leo and Lily special)! I find these special moments in life can bring such joy when our world is faced with such hardships. I somehow find the natural busyness of our household calming (and I don’t say that often)!
Over the years our family has taken on the tradition of making homemade gifts for each other. We still buy some gifts, but we’ve found that taking time to be together and work on surprises for each other and those we love is far more enjoyable and less stressful. It is a favorite time for us all because we’re working together and our time is centered around the family. I love seeing the joy it brings to each of the kids as they try and create something meaningful for someone they love. Sometimes we each make a gift for each person in the family or we pick someone we’d like to make something for and make sure it’s balanced so that everyone gets a homemade gift. We have found that this tradition has helped us all to think a little more about what you might like to do for someone else and not just about what you would like to get. Such a beautiful thing to cultivate is the heart of giving in this season. It helps us all feel closer to the reason for the season, the celebration of Christ’s birth and the gift that he’s given to us.
Homemade Rainbow play dough
Graham Cracker Gingerbread Houses
So, as you can imagine, during this time of year the house is a bustle with my little Christmas elves working on all their surprises. I can’t divulge all the clever projects the kids have in the works, but I can share some sweet handmade gift ideas of Christmases’ past and a few from the present!
There is a lot of wood working going on in the shop this year and rumor has it that our head shop elf is working on some wooden stilts for the kids! Leo has also told me that he has some special wooden serving utensils he is making me on the shaving-horse, but it’s a surprise!
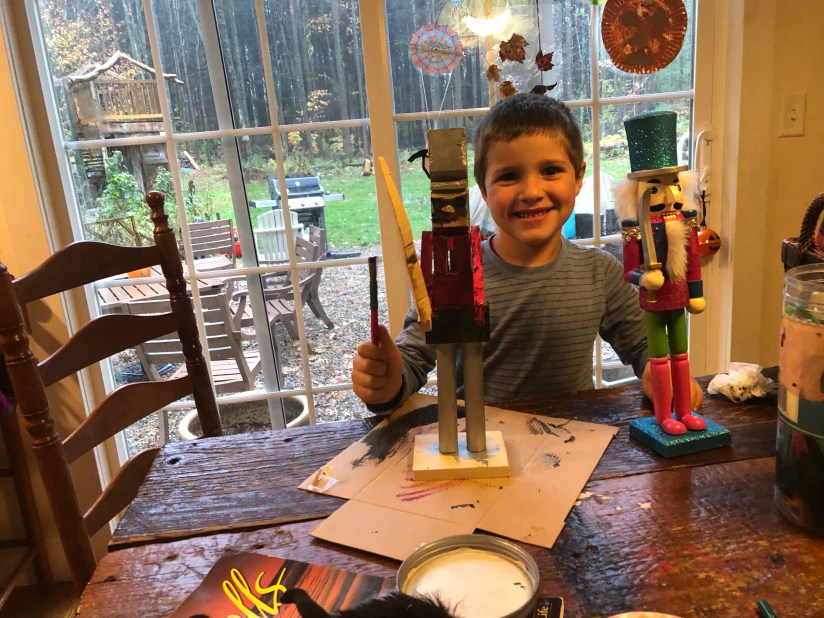
Leo and Lily have made Vivienne handmade blocks that they sanded and painted. Lily sewed a beautiful bag to hold the blocks. Mike’s lips are sealed as to any other wood shop creations, but if you’re looking for some other woodworking gift ideas to make with your children, cutting boards and birds houses are a favorite around here – along with homemade Nutcrackers!
There has also been a lot of sewing happening in the house and rumor has it that I might get some new cloth napkins for the kitchen!
We’ve also been busy with some crochet and knitting gift projects. Leo and I have been working together to knit a hat for Vivienne. It’s Leo’s first big knitting project and he had all the best intentions of doing it himself, but as we move forward, he keeps telling me he can’t believe how much work goes into making this hat! So, he knits a row here and there and I have been asked to knit most of it, but he’s always there, sitting beside me for moral support.
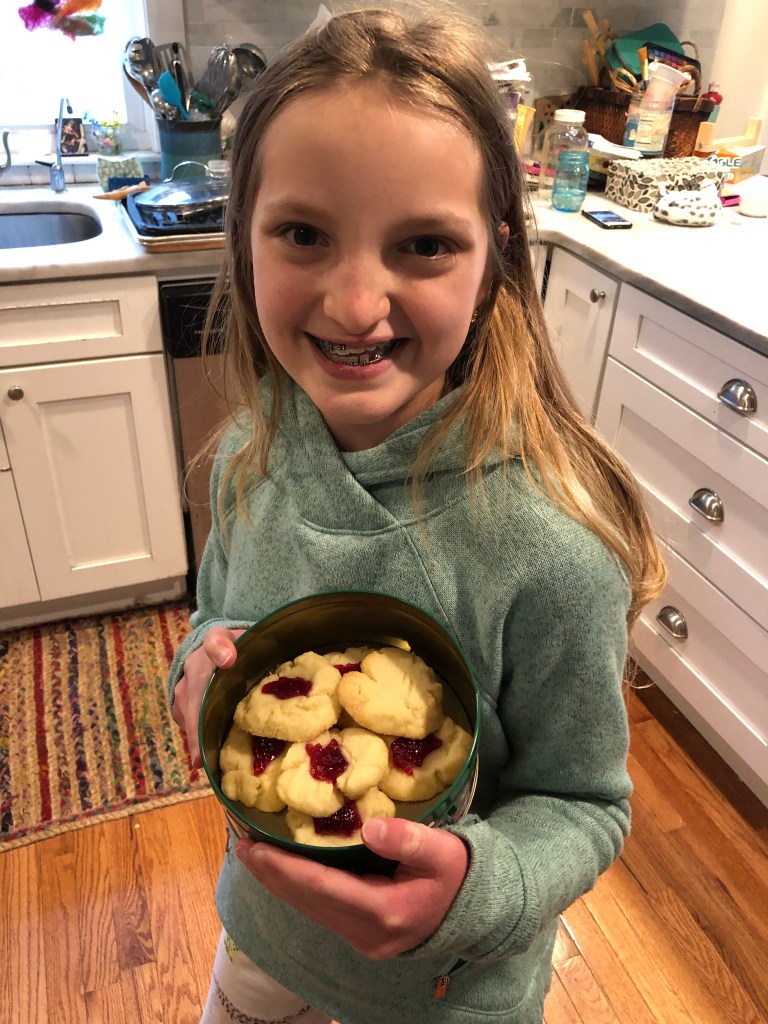
There has been lots of crafting, painting, jewelry making, and even some homemade confections. Lily loves making homemade chocolates and for Christmas she is working on some special tins filled with her sweet treats including chocolate covered pretzels!
The very early stages of our baby doll making adventure!
Lily and I have also taken on the challenge of making Vivienne a handcrafted Waldorf doll. We purchased a kit from Weir Crafts and it’s been fun, exciting and a challenge! Fingers crossed it ends up looking like a doll and that we finish on time!
Handmade beeswax candles
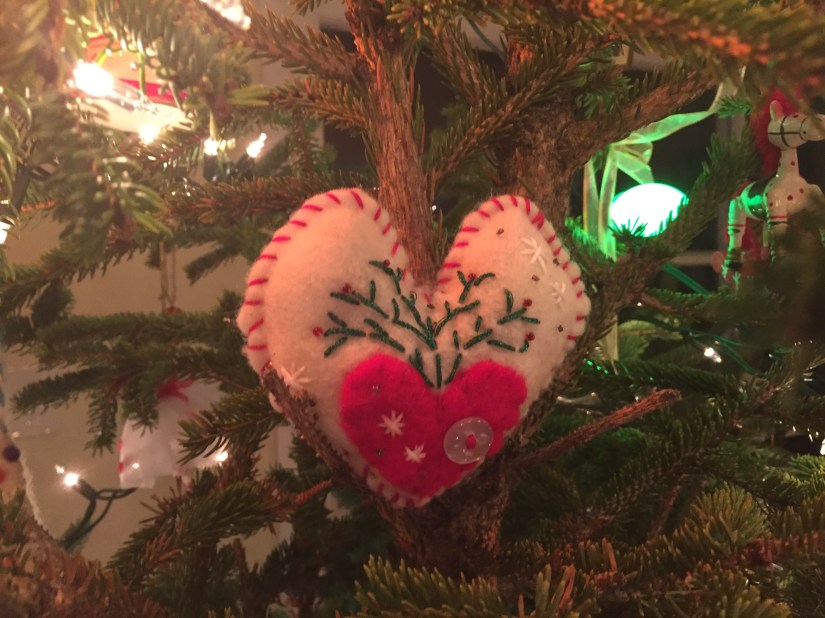
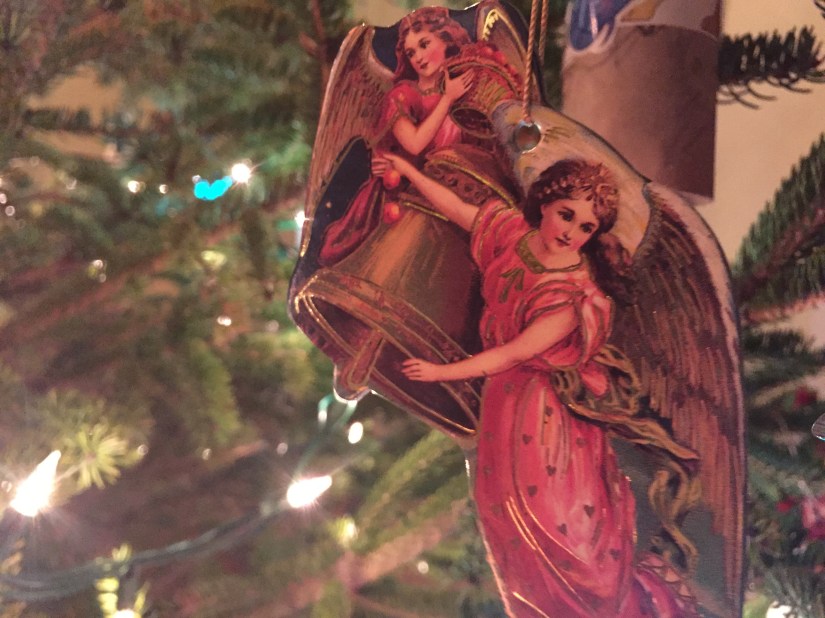
A handmade wooden ornament
Some other homemade holiday gifts we’ve enjoyed making over the years are beeswax candles, hand salves and lip balms, handmade journals, Christmas ornaments and framing favorite poems or quotes for one another.
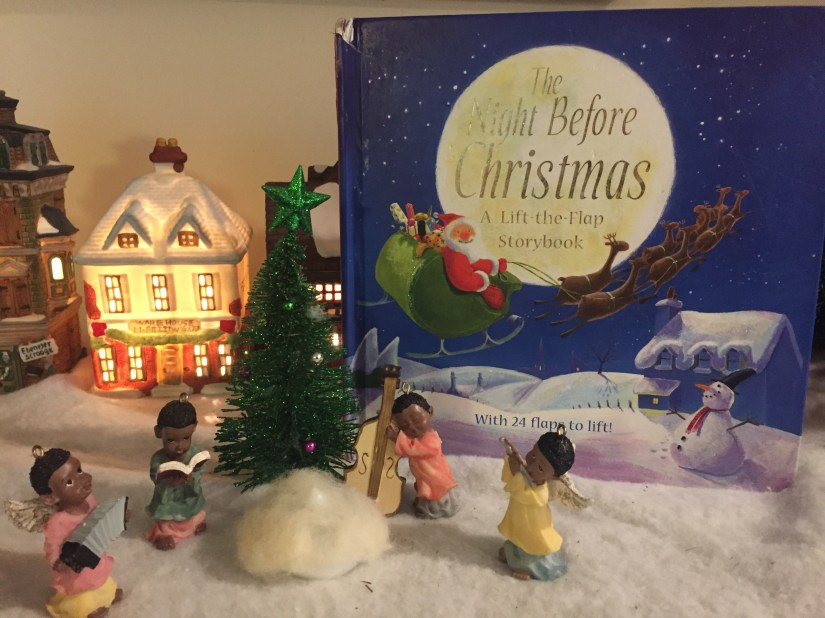
As a special Christmas Eve gift for Mike and I, the kids are working on memorizing and performing ‘The Night Before Christmas.’ They have been gathering props and making their costumes and practicing their lines with excited anticipation for the performance. Tickets are being made and we’ve been told there is limited seating and free cookies for the first two guests seated! Have to love the creativity that springs from times during social distancing.
If you’re looking to give something homemade, but doing it yourself isn’t really an option, there are a lot of ways to support small businesses and purchase handmade gifts during these times. Some great ideas are buying from local small businesses in your town that offer shipping or curbside pick-up. Etsy is also a great place to shop small, handmade businesses. Purchasing CSA shares or gift cards to local farm shares is another buy local idea.
We also love giving books, to the kids and to each other. Giving a gift you can learn from is really a great gift. Games and puzzles are also another favorite gift to receive in our house. Everyone loves the gift of food! We do a lot of baking this time of year; homemade breads, cookies, quick breads, homemade soups in mason jars and fresh cheese or butter are all great gifts for neighbors, friends and family!
For it is in Giving that we Receive
St. Francis of Assisi
May the gift of Giving and the Joys of the Season fill your homes with
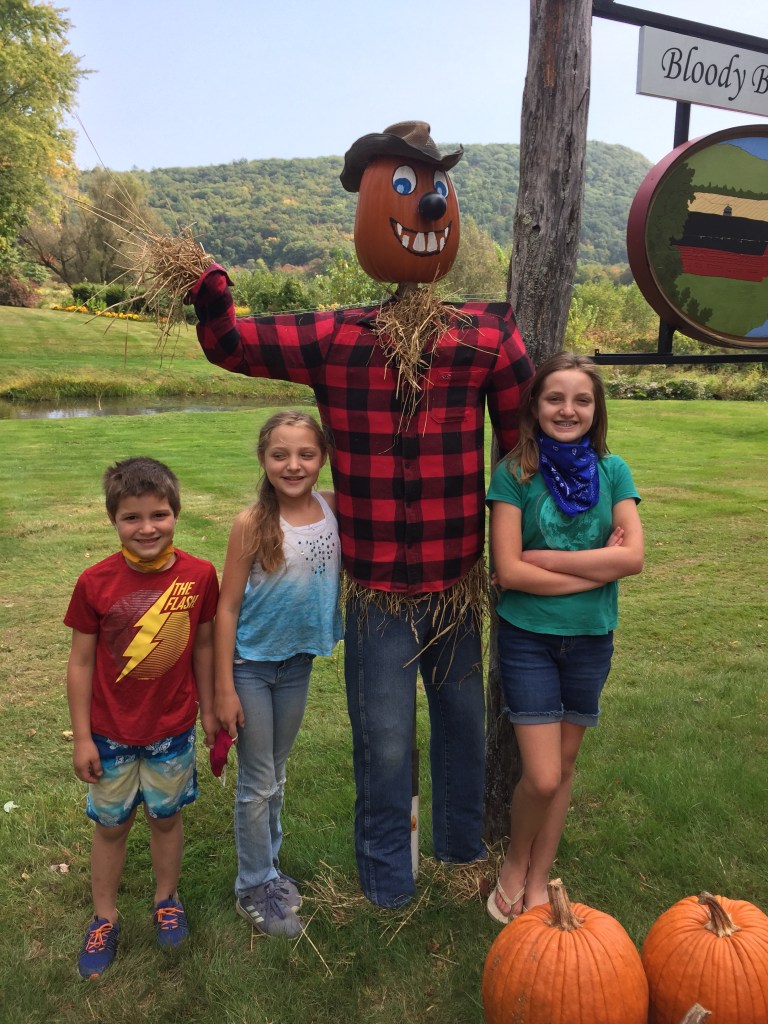
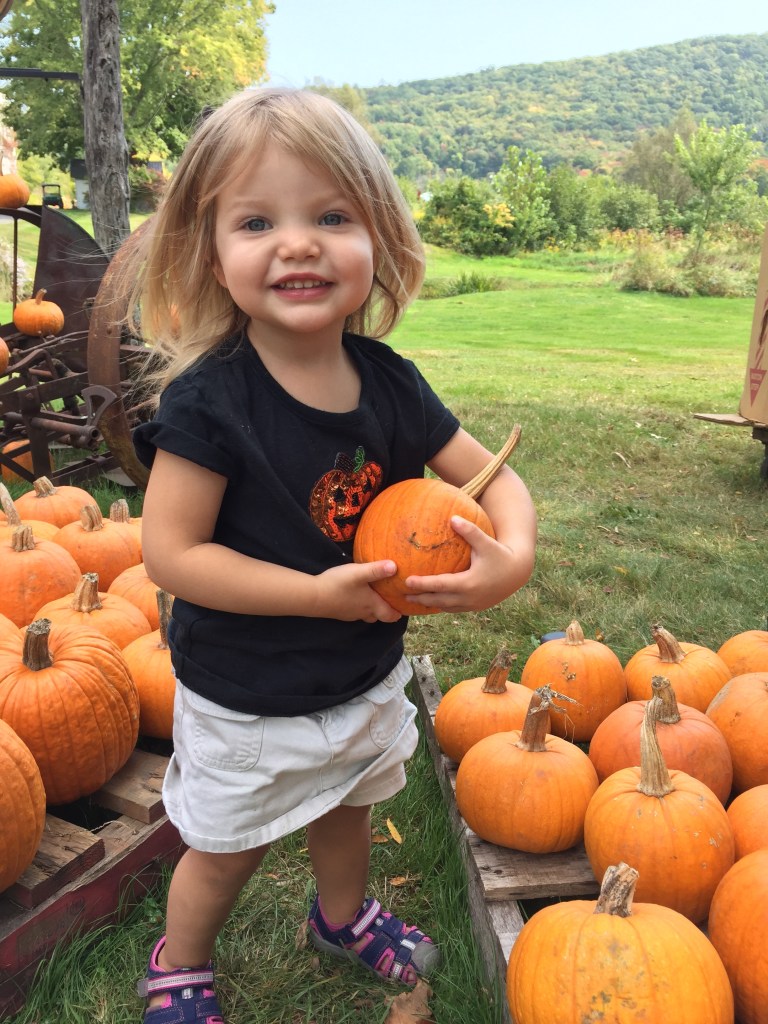
Fall is always a special time of year. We look forward to all the local fall festivals, pumpkin and apple picking, baking, crafting and working on our Halloween costumes. This year with the current pandemic and social distancing, we’ve had to get a little more creative with our fall activities, but surprisingly the kids are ever resilient and have come up with some clever and creative ways to keep things exciting! I hope some of these fun ideas add to your Halloween Festivities!
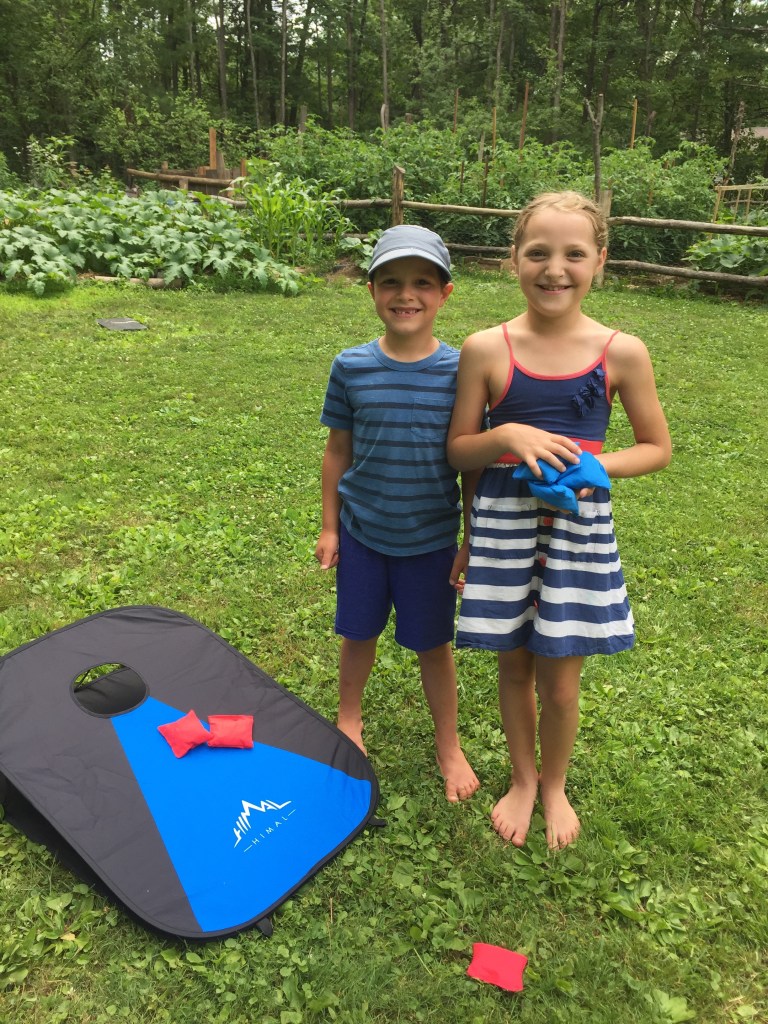
Leo put together a fall festival for us all with a pumpkin rolling contest, a hay ride on his peddle tractor, bouncing in the bounce house and even a picture booth he painted and made from a cardboard box!
He and Lily also set up an archery station with bails of hay creating a fun family archery challenge.
The kids have been putting together their homemade costumes and since we won’t be able to trick-or-treat this year, they have decided that they will change costumes and visit our front door a couple times! This idea has actually worked out well for those who can’t commit to one costume!
Lily the 80’s Rockstar
To add some science and math to our Halloween fun, we made magic math ghosts and pumpkins. To do this, draw some pumpkins and ghosts on watercolor paper and write some math equations for your child to solve. Write the answers in white crayon and after your child has solved the problems, have them watercolor paint over the hidden answers and watch them appear like magic!
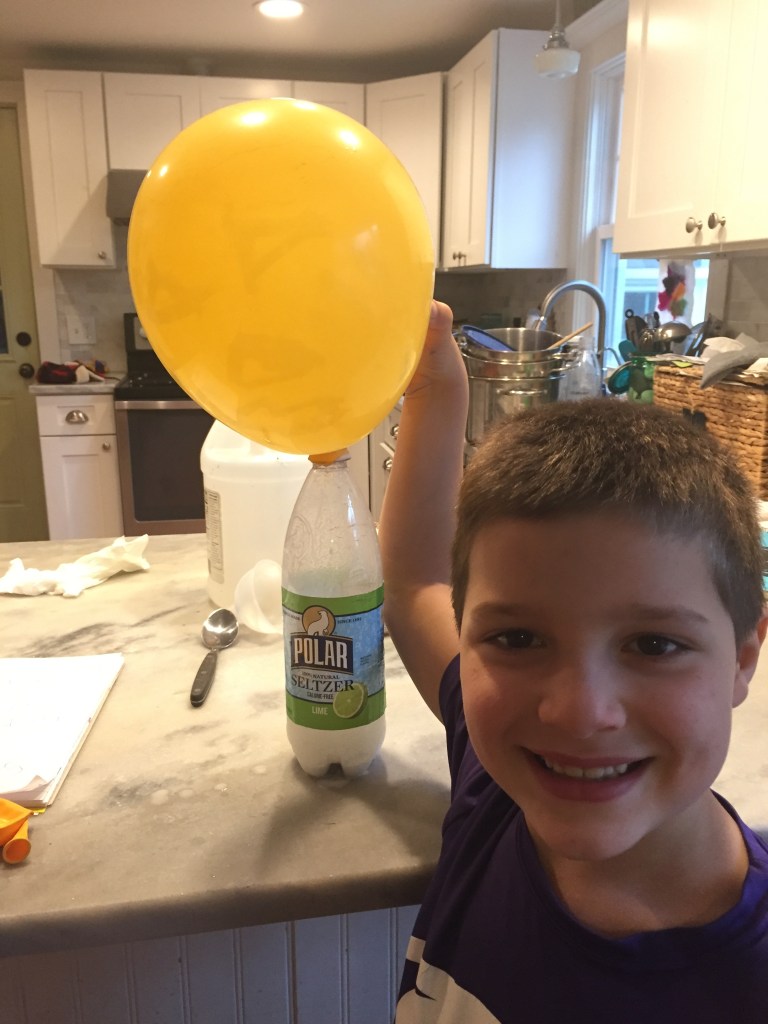
We had some science fun by blowing up orange pumpkin balloons with gas! This is a simple science project using an empty plastic bottle, vinegar and baking soda. To do this, add 1/3 cup vinegar to the empty bottle, have your child draw a pumpkin face on the balloon, use a funnel to add two tablespoons baking soda to the balloon, put the balloon around the plastic bottle top and stand the balloon up so that the baking soda falls to the bottom of the bottle – the chemical reaction will instantly inflate the balloon!
We also made some tissue paper pumpkin piñata’s to fill with Halloween surprises that the kids will search for on a Halloween Treasure Hunt! To make the piñata’s we used balloons and modge-podged 3-4 layers of orange tissue paper. Once they are dry you can pop the balloon, fill it up with treats and then modge-podge a couple layers over the opening to seal it up. The kids gave their pumpkins faces, which you can do with marker or glue on with construction or tissue paper.
Last, but not least, we always carve pumpkins on Halloween! Light them up and bring them indoors – it adds a cozy atmosphere for telling stories as you wind down the night!
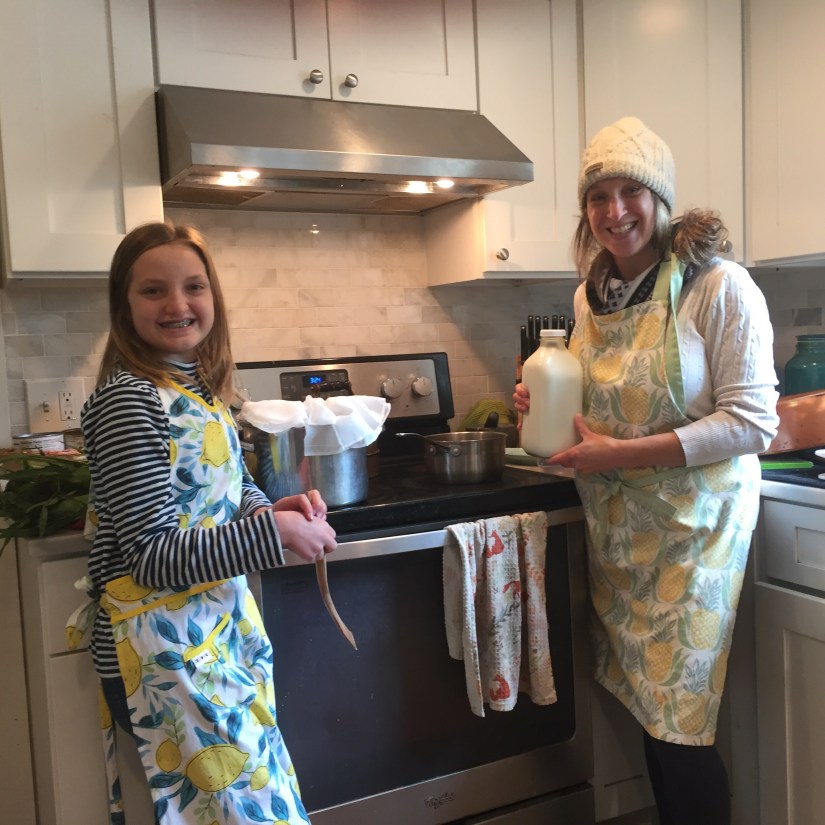
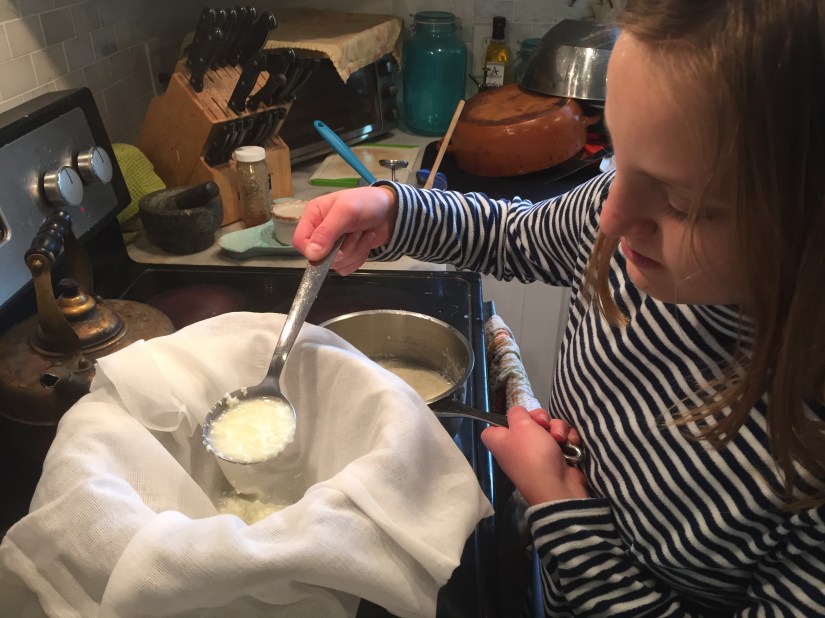
Ava and I in the kitchen getting ready to make some goat cheese!
Ok, so you’ve joined the slow food movement – you have a garden, you’re baking bread and you’re making meals from scratch – what else is there to do, but venture into the crazy world of making your own homemade cheese! I know, it may sound crazy, maybe even impossible, but trust me, once you give it a try, you’ll appreciate the simplicity of making something that seems so ordinary, yet connects you to age-old artisan traditions. I am a cheese fan; always have been, always will be. I cannot put into words, my true love for not just cheese, but fresh cheese, especially goat cheese! One of my fondest memories of a trip to Italy is of a summer stay in the mountain village in which my father grew up and discovering our neighbor, the goat farmer, and his cheese making business. Barley twenty years old this young farmer was already running his own cheese business and raising goats on the family farm. It was a simple, yet impressive operation that left not only an imprint on my tastebuds, but on my heart. It was a glimpse into the old-fashioned, slower paced living that Mike and I craved and left us amazed at how during modern day times, here was a young entrepreneur, in a remote mountain village, raising goats and making delicious cheese in the cellar of his family’s home.
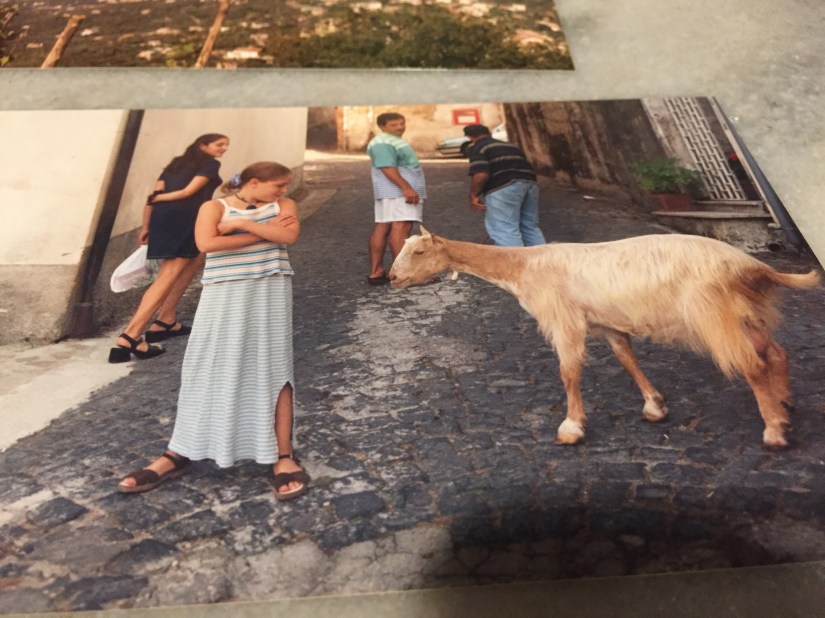
A view of the the mountains from my dad’s village and a friendly goat out on the town!
When we returned to New England, Mike and I both were on a hunt for goat cheese that reminded us of Italy. Fortunately, we live in an area where local farmers never seize to amaze me and to my great delight we discovered that some of the best goat cheese in the US is made right around the corner! And I do mean this literally because my fabulous goat farming neighbor makes some unbelievable chèvre!
If you haven’t ever given cheese making a try you’d be surprised at how easy it is to make a simple farm cheese for the family to enjoy! We use raw goat’s milk from our neighbor’s farm, but you can substitute raw cow milk or pasteurized cow milk for cheese making.
This simple goat cheese recipe is from Lisa Schwartz’s “Over the Rainbeau” book.
Ingredients:
1 Quart Raw Goats Milk or Pasteurized Goat Milk (Don’t used Ultra-pastuerized milk) *Cow Milk can be substituted
Food Thermometer
Cheese cloth (made of cotton, not synthetic materials)
Medium sized cooking pan
Wooden spoon and ladle
Juice of two lemons (4 tablespoons)
Salt
Directions:
In a medium saucepan, heat milk until it reaches 180 degrees on an instant-read thermometer. Remove from heat and stir in lemon juice. Let stand until set, about 15 seconds. If milk does not set, add a little more lemon juice.
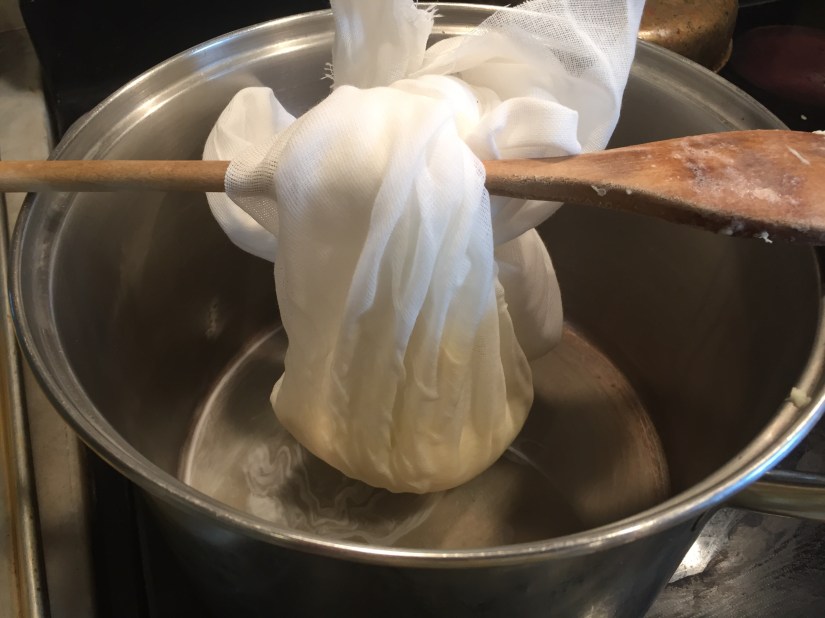
Line a colander with several layers of cheesecloth. Ladle set milk into colander. Tie the four corners of cheesecloth together; hang on the handle of a wooden spoon set over a deep bowl and let drain until it is the consistency of slightly dry cottage cheese, 1 to 2 hours. Transfer to a bowl and store in an airtight container, refrigerated, up to 1 week.
Once you’ve separated the curds from the whey, save the whey to add to other recipes. Whey has several nutritional benefits. It is full of protein, calcium and potassium. We use it as a substitute for buttermilk when making pancakes and it is a great substitute for water when making pizza dough.
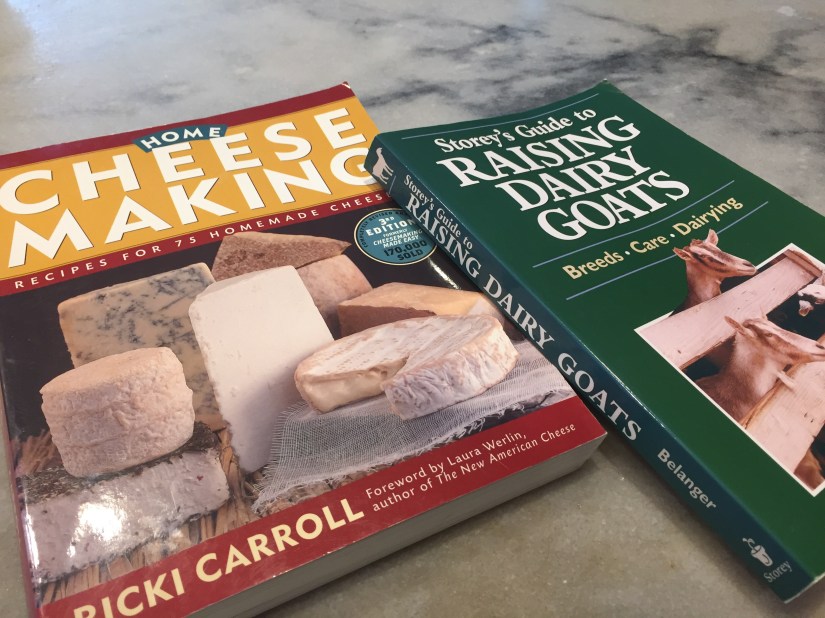
If you’re interested in purchasing a cheese making kit or getting some more information about cheese making, the New England Cheesemaking Supply Company has a fantastic website with great information, recipes, kits, cultures and supplies. Home Cheese Making by Ricki Carroll is also a great resource.
Wishing you all some time to enjoy the slower pace of life, to experiment in the kitchen cultivating memories and bringing the process of food making back to the center of family life! We all care a little more about the product, when we are involved in the process – true for food and for life.
I love summer squash and zucchini. To my great fortune, this year my garden is plentiful of it! Thankfully, both of these vegetables can be cooked and eaten so many different ways. I love to sauté some zucchini on the stove top with olive oil, chopped garlic and a little salt and pepper. I also love roasting it in the oven tossed in olive oil, salt, pepper and some parmesan cheese. Currently, my kids two favorite summer squash and zucchini recipes are squash fritters and zucchini bread- no surprise there! We’ve added our personal touch to some pretty basic recipes that we thought we’d share with our fellow gardeners who are also trying to figure out what to do with all that squash! Enjoy!
I have found these freeze up nice once shredded and stored in a freezer bag. Quick and Easy!
Summer Squash Fritters (We use the yellow squash for these)
Ingredients:
2 Cups Yellow Summer Squash or Zucchini shredded
8 Tablespoons Flour
2 Large Eggs
1 Teaspoon Baking Powder
1 Teaspoon Salt
1/2 Teaspoon Pepper
Chopped fresh Basil leaves
Half an Onion shredded
2 Tablespoons Parmesean cheese
Vegetable oil and 2 Tablespoons Butter for frying pan
Directions:
Mix all ingredients in one bowl
Heat oil and butter in large frying pan (enough oil to cover the fritters half-way)
Scoop a small pancake size dollop of batter into the pan once oil is heated
Cook on one side about 2-3 minutes until browned then flip and do the same on opposite side
Once done, move fritter to a plate with paper towel to absorb extra oil
My kids love these served hot with ketchup and fresh sliced tomatoes!
Lemon ZucchiniCake
Ingredients:
2 Cups Zucchini shredded
2 Cups All Purpose Flour
1 Tablespoon Cinnamon
1 Teaspoon Ginger
1/2 Teaspoon Nutmeg
1 Teaspoon Salt
1 Teaspoon Baking Powder
1 Teaspoon Baking Soda
1 Teaspoon Vanilla Extract
Zest and Juice of 1 Lemon
2 Large Eggs
1 Cup Brown Sugar
1/4 Cup Coconut Oil – or Vegetable Oil
1 Tablespoon Butter for Pan
Directions:
Mix all dry ingredients and wet ingredients separate then Combine
Butter a 13 x 9 inch pan
Pour batter into pan and bake at 350 degrees for 30 minutes
Icing:
Mix juice of one lemon with enough confectioners sugar to make an icing consistency to pour over cake when cool
Enjoy!
This Zucchini Cake Recipe is adapted form a Wonderful Italian Cook that the kids and I like watching on Youtube. She reminds me very much of my own Nonna and has some authentic Italian dishes you might enjoy checking out.
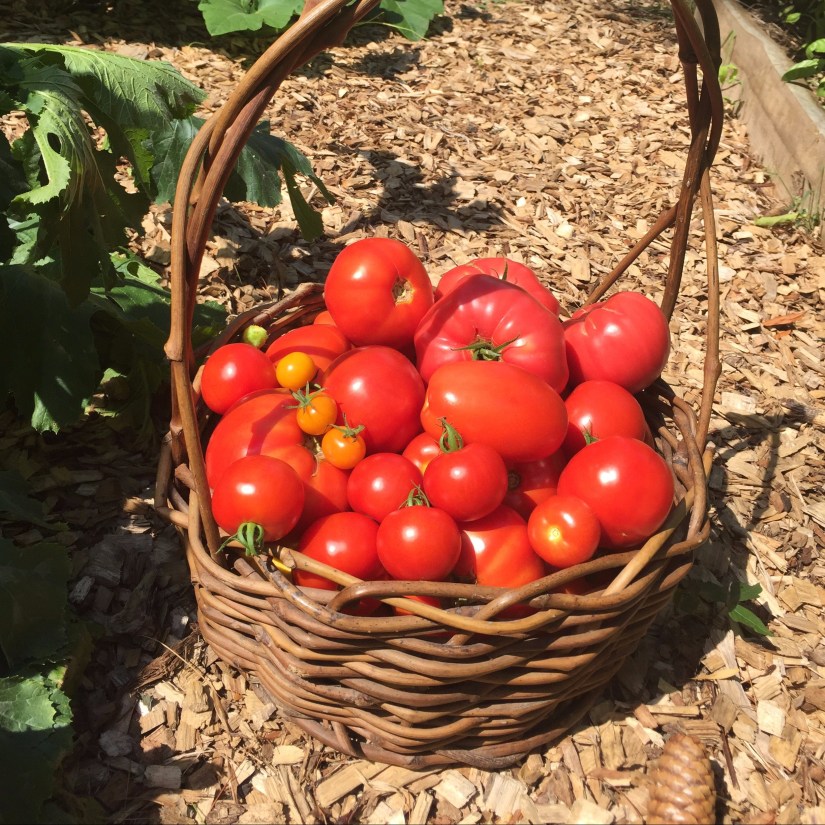
About six months ago after our first family adventure in our camper and gaining a new appreciation for living in a simpler way, I wished for a slower pace to life. Fast forward a couple months and I got it! Never could I have imagined that it would be forced upon us! And never would I have wished for a global pandemic to bring this slower pace. But, with a slower pace and more time on our hands we were able to pursue another wish of mine, a big garden with lots and lots of tomatoes! Thankfully to a very hearty compost delivered by our local dairy farm and to the hard working hands of my husband, kids and myself, the tomato dream has come to us in bucket loads!
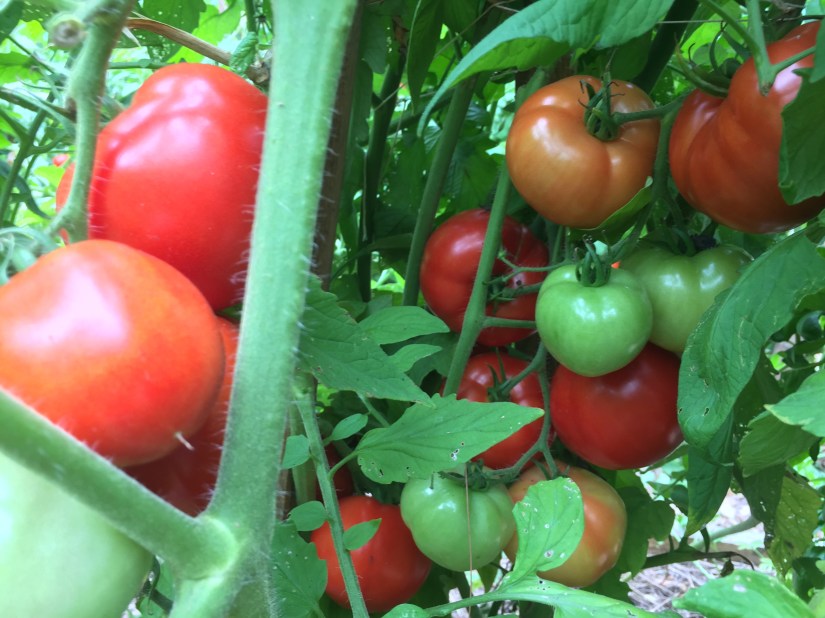
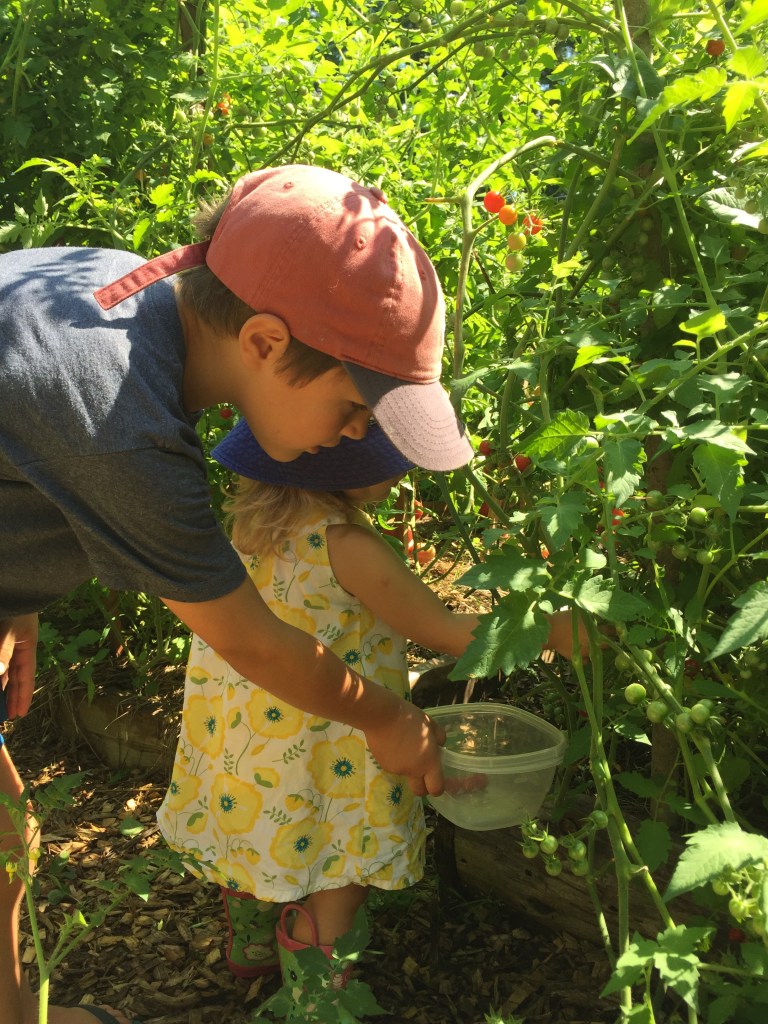
We planted numerous varieties of tomatoes this year; Brandywine heirlooms, Early girls, Sun Gold cherries, Fourth of July, Big Boy Brandywines, Plum tomatoes and lots of cherry tomatoes. Little did we know how prolific the plants would be and how good a growing season we would have. The kids and I are out there every day inspecting the tomatoes and gambling on which ones are ok to leave for tomorrow hoping the slugs and other small hungry visitors won’t eat them before we get to them. It’s a risk we’re not always willing to take, but Our tomato storage capabilities are reaching their max. I feel more and more like my Italian Nonna everyday as I care for my tomatoes with the tenderness I do my children and trays fill my house with upside down tomatoes spaced apart and covered with linens in order to prolong their lifespan. Like us, the tomatoes are also better off social distancing to insure their health and longevity.
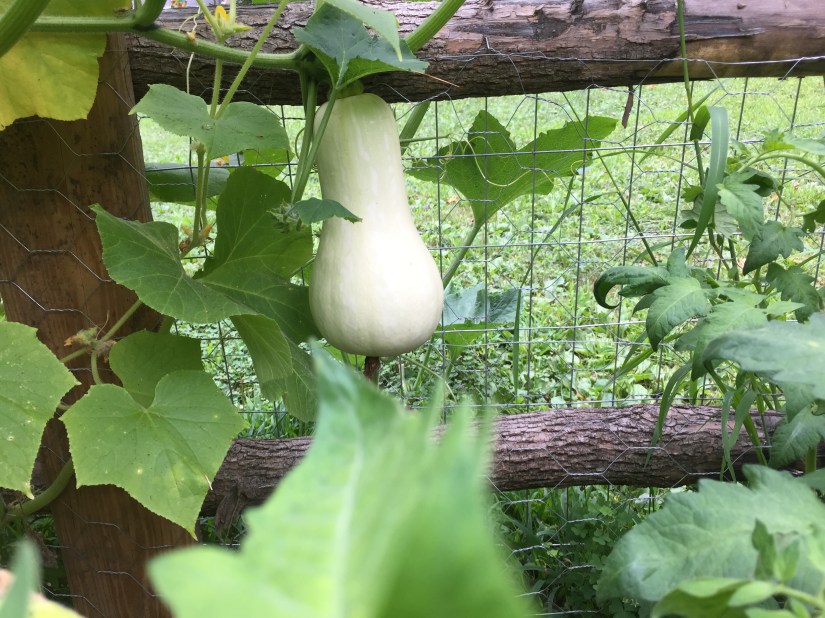
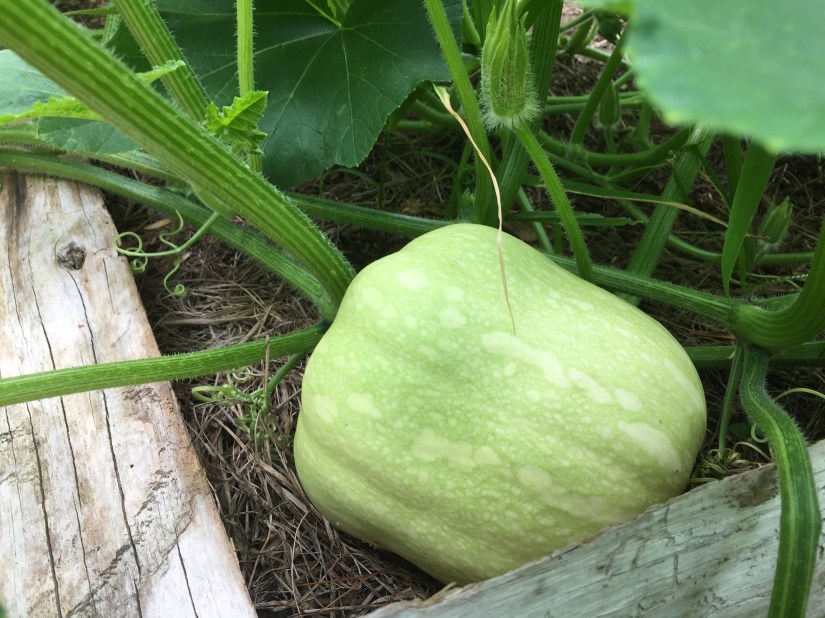
I Have been making sauce, canning, jarring, freezing, sun drying and roasting tomatoes daily. We’re eating many tomato sandwiches with fresh pesto and mayo. There is nothing quite like the amazing taste of a vine ripened tomato. It’s a simple thing that can bring so much joy. The tomatoes seem never ending and the garden is beginning to feel a bit like Big Anthony’s garden from the Strega Nonna storybook! For those not familiar, his garden is a bit out of control, but the unwieldy magic of a garden continues to be truly delightful and exciting! We keep finding new surprise plants that have sprung from our dirt and are now bearing fruit. We have butternut squash trellising across our fence, an unknown squash growing in the pumpkin patch and compost bin, cucumbers growing in our pot of Canna’s and a giant gourd plant taking over a flower bed!
Butternut squash seeded itself into the garden
Another squash surprise that is an unknown!
Every meal seems to be a new creative adventure. We have roasted some of Leo’s giant pumpkins and made lasagna size pumpkin pies! With plenty pumpkin purée leftover to fill our freezer for later use. We can’t get enough squash fritters, zucchini bread, fresh garden salsa and cucumber salads! We’ve even gotten pretty creative with our pesto recipes and made beet green, kale and basil pesto with almonds and walnuts. We’ve gone Greek and made home made Tzatziki along with feta, tomato, cucumber wraps. The magic of the garden keeps on giving and continues to renew and recharge our mind, body and soul!
Some Arugula seedlings springing up in the garden
We have harvested all the carrots, beets and lettuce and have started new plantings for an early fall harvest. There are so many great vegetables you can plant in August for most planting zones that will allow for a crop before winter. We have put in bush bean plants, arugula, spinach, mesclun salad mix, kale and broccoli rabe (a bitter green similar to broccoli). Some other vegetables that you can plant now are radishes, carrots, beets (for beet greens and small beets), Swiss chard, and garlic.
The kids are drying out seeds from the tomatoes, green beans, cucumbers, banana peppers and pumpkins to save for next year.
To Plant a Garden is to Believe in tomorrow.
Audrey Hepburn
There is something so therapeutic about working the earth, growing your own food and cooking and eating together. It is a tradition I hold dear to my heart that I am grateful to pass down to my children. Sunday dinners at my Nonna’s house packed into her tiny kitchen with my Aunts, Uncles, Great Aunts and Great Uncles, cousins and friends eating a home cooked meal from the garden while listening to them debate over who found the cheapest grapes and broccoli rabe – are some of my dearest childhood memories. As a young girl I didn’t quite understand why my grandparents worked so hard when you could buy everything at the food store? Yet, there was something special about what they did that struck me even at an early age. Both my grandparents have since passed, but I feel their presence shining over me each time I set foot in my garden and get lost in the rows of tomato plants. They were two very hardworking people who lived very simple and always shared the fruits of their labor with those they loved. They were the original ‘Farm to Table’ farmers. The way they have shaped my life to appreciate the simple things, to know where my food comes from and to respect the earth that feeds me, is profound. They have gifted me with the secrets to the true riches in life, good food, family and friends- and for that I am ever grateful.
If I am so lucky to be granted a third wish, It would be that – All who have tasted the pleasures of the earth work together to preserve it. Be that in the garden and in life.
Let America be the dream the dreamers dreamed- Let it be that great strong land of love / Where never kings connive nor tyrants scheme / That any man be crushed by one above. – Langston Hughes
On this anniversary of our great Nations’ Independence we wish you all freedom and happiness. Thankful for the life, liberty and path to all that we hold dear. Take the day as yours and reflect on the joys that make life worth living. Let’s all pledge to pursue them together for a better tomorrow. Peace, Love and Joy be yours today and always.
Eat pops, Play games, blow bubbles, splash in the sprinkler, have a bar-b-cue, roast marshmallows – Have some good old-fashioned fun and spread the LOVE!
And if you’re looking for a little pleasure reading to share with the kids – this is a great look into the history of the document that gave the people of the United States their freedom
From our Home to Yours – Have a Wonderful Weekend!