


This Christmas, my wonderful husband surprised me with a pasta machine! I was truly surprised because even though it was something I’ve thought of purchasing over the years, I had never mentioned it. I know what you’re thinking, how could someone really be that excited about doing more work to get a simple meal like pasta on the table? Doesn’t she know that a box of pasta only costs less than $2.00? Call me crazy, but there’s something about making pasta from scratch that makes me feel as if I’ve stepped back in time into my great-grandmother’s kitchen in Italy and am taking part in a very sacred tradition.
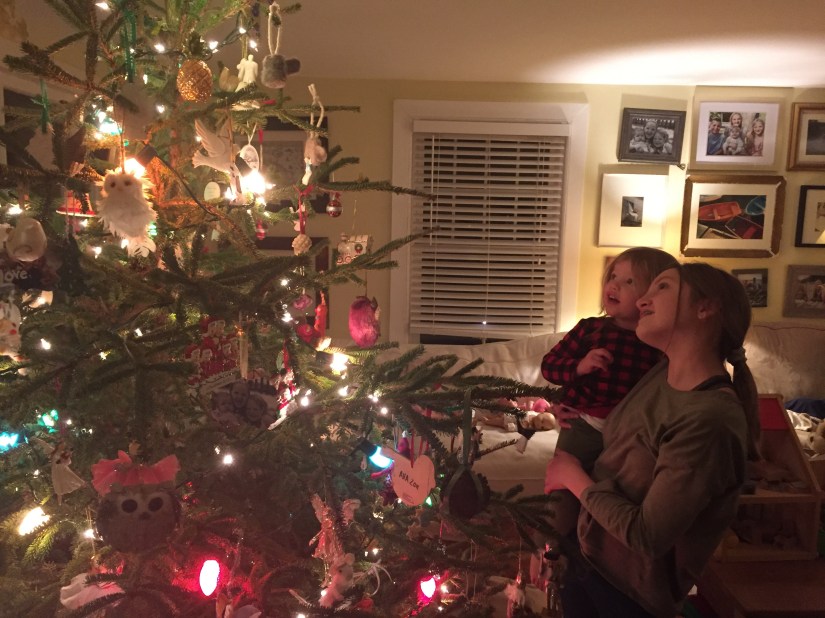
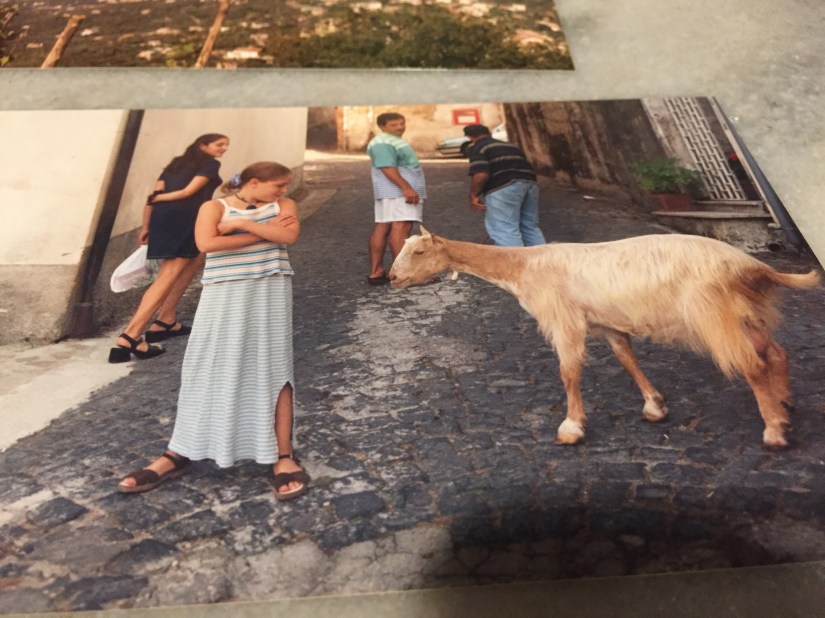
It’s truly amazing how emotions and memories can be triggered by traditions. I used to love going down into my Nonna’s basement kitchen around the holidays and crank the dough through the pasta machine to make fresh pasta and Italian Christmas cookies. My grandmother and her sister would put on their weathered aprons and enormous dollar store magnifying eye-glasses. Nonna would always pull her hair back in a handkerchief and Zia Rossa would have on a winter cap. For the pasta dough, Nonna never needed a recipe; It was engrained in her heart from her own childhood. The Christmas cookies were another story. She would pull out the smallest, crumpled piece of scrap paper with her recipe jotted down in Italian. She would always have a hard time reading her handwriting and ask me what I thought it said, I don’t speak Italian well, and am no better at reading it! Zia Rossa would soon chime in about how she used orange zest not orange juice and before you knew it, they were on the phone with a cousin in Italy to solve the dispute. Oh yes, a simple thing like a pasta machine can bring back so many memories.
y 

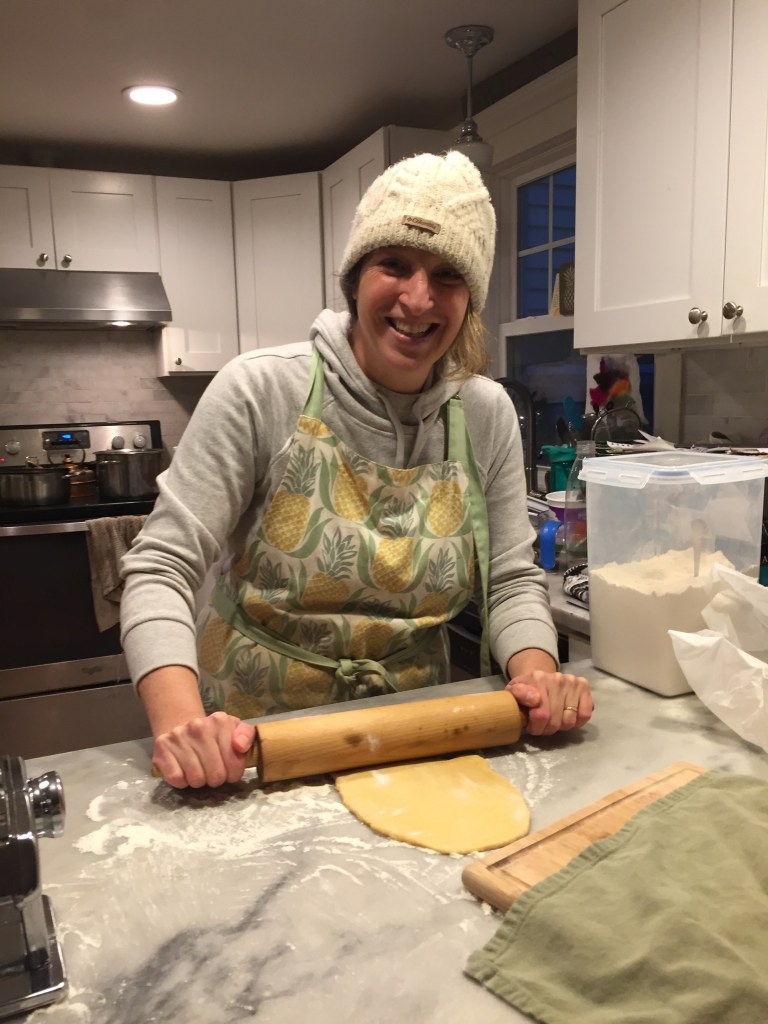

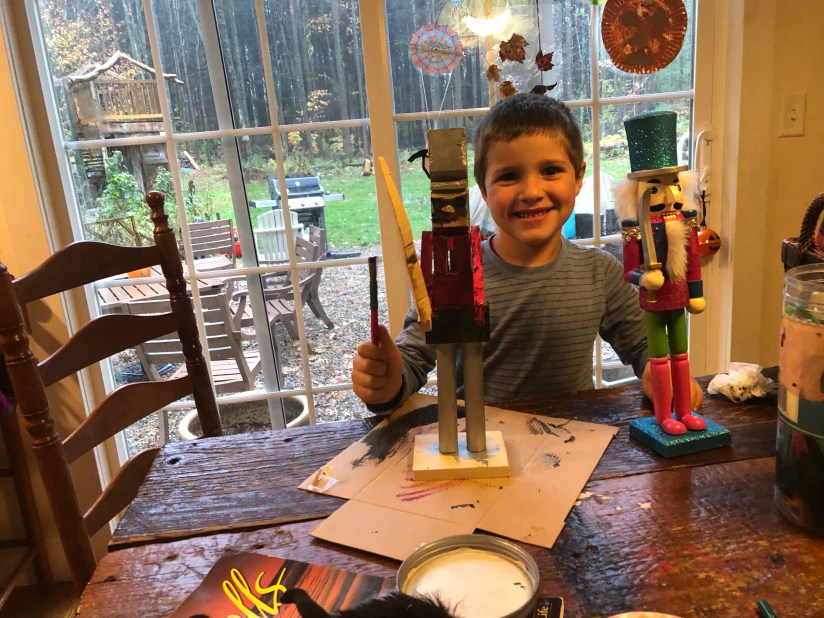
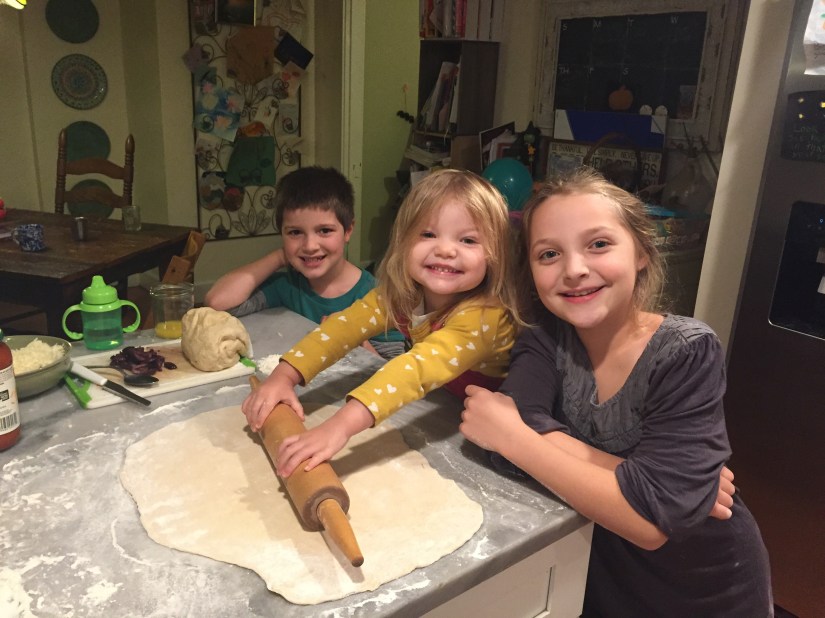
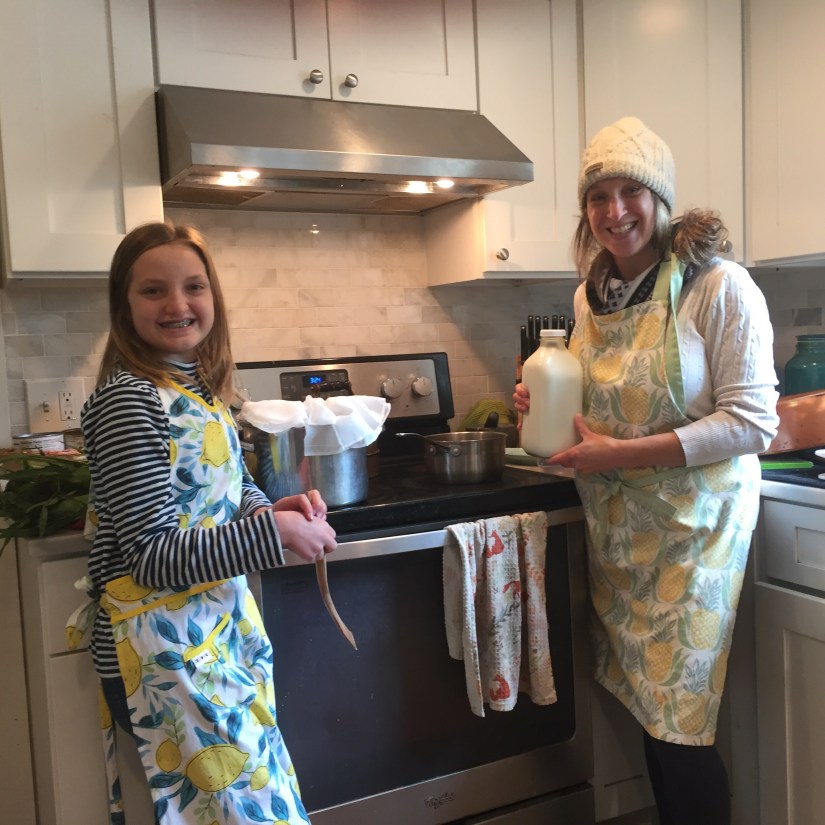
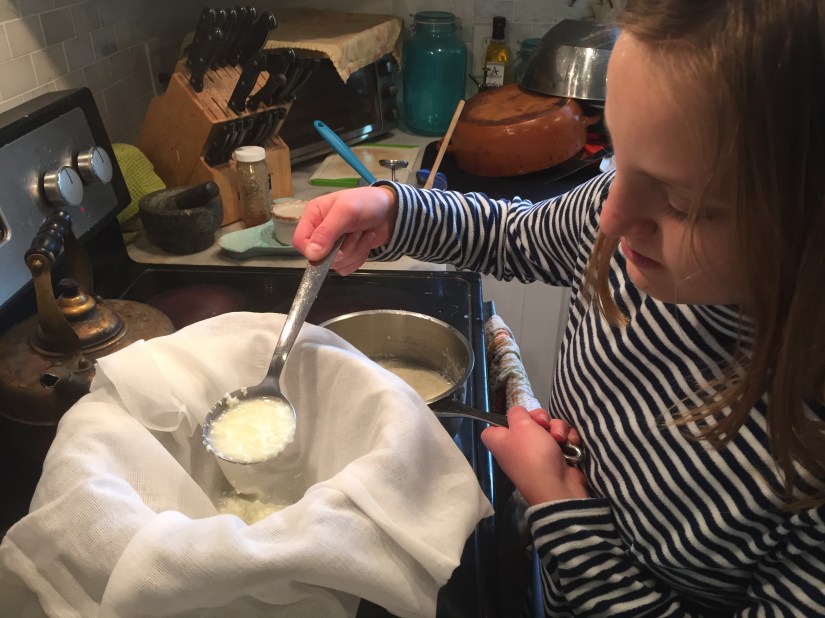
My excitement must have been contagious because everyone in our house wanted in on the pasta making fun. Fortunately, our dough came together beautifully. No real chemistry there, just a simple recipe of flour, egg, oil and a touch of salt. Yet, us rocket scientists had a hold up as we encountered a bit of trouble getting things rolling through the machine. If you’ve ever seen a pasta machine, the simple ones with the crank handle, there’s not much to them to figure out. We were pros at sending our rolled out dough through the first round of the machine flattening it out to the desired thickness. But, as we all anxiously awaited the final step that actually makes the fettuccini; Lily cranked the machine, Leo had his hands ready to grab the pasta as it came out… and nothing. Like a carousel ride, our pasta just kept going round and round the machine. Mike suggested I make the dough less sticky, so I patted it all down with a little flour and we tried again. Nope, the pasta kept going round and nothing came out. I took out the directions, yes, now I took out the directions, but there was no information in the ten different languages written that instructed you on how to put the machine together. Hmm, what were those little metal bars and plastic inserts for that were sitting on the counter? I just assumed they were to clean the machine. Good thing Mike is a contractor, because yes, a contractor is always good to have around especially when you are making pasta and need help figuring out where the missing parts fit into the machine!

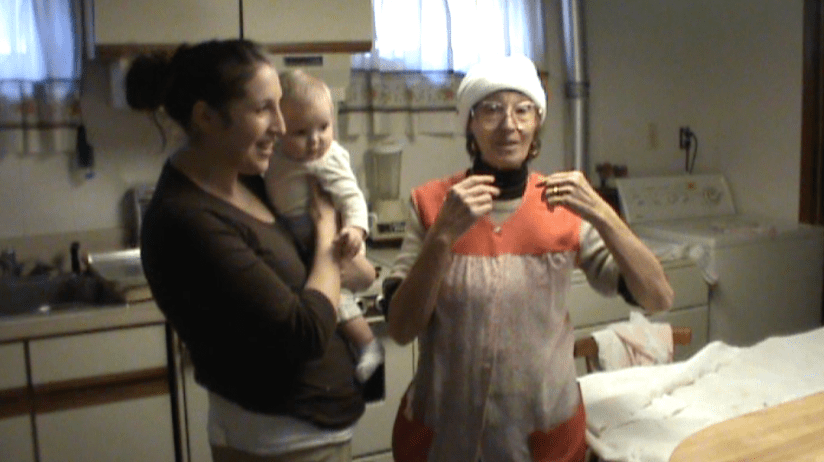
2-Year-Old Vivienne cranking out the dough 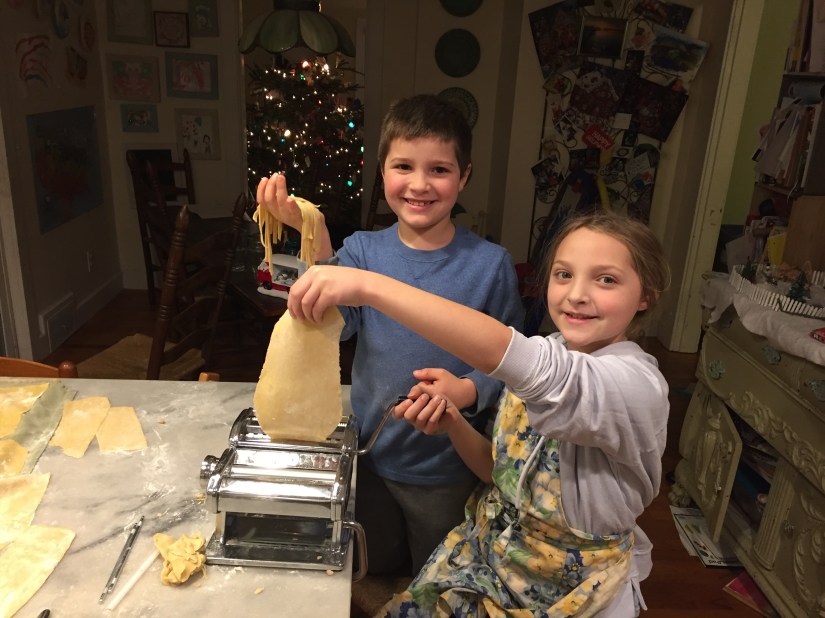
Leo & Lily channeled their Italian heritage and would have made their ancestors proud with their pasta making skills and enthusiasm!
The kids loved making pasta. I think they were truly amazed that they could make yet another thing on their own that we usually buy from the store – and that it could taste so good! The fettuccini was such a hit that a couple nights later we made homemade spinach ravioli and Leo made us all spaghetti!

If you’re feeling inspired, I encourage you to get that pasta machine, put on your apron and if you’re really feeling it, your winter cap and give pasta making a try! The memories you will be creating for your family are priceless.
Pasta Dough Recipe (makes about 1 pound of pasta)
Ingredients:
- 4 Eggs
- 1 1/2 Cups “OO” Flour
- 1 Cup All-Purpose Flour
- 1 Tablespoon Olive Oil
- A pinch of salt
Instructions:
- Add all ingredients to your food processor and pulse for about 10 seconds or until the mixture is crumbly in texture
- Remove the dough and form into a ball with your hands. Then knead the dough on a lightly floured surface for a couple minutes until it is smooth and elastic. The dough should be pretty dry, but if is seems too wet, just add more flour a tablespoon at a time.
- Form the dough into a ball and wrap it in parchment paper or plastic wrap. Let the dough rest at room temperature for about 30 minutes.
- When dough is ready, roll it out into small rectangular shapes and run through your pasta machine to desired thickness for the pasta you are making (this is indicated in the pamphlet that comes with the machine). Then send the dough through the machine to be cut into your pasta shape!
*Fresh pasta will cook quicker than dried pasta – usually between 1-5 minutes depending on the thickness of your pasta.
*Our pasta machine is an Atlas 150 and now that I know how to use it – I really do love it!
“Tutti a tavola a mangiare”
(Everyone to the table to eat)
Below is a video (I found on Youtube) of my dad’s village in Italy preparing for the September festival to celebrate the Saint of their town. It is a tradition that dates back for centuries and is truly an honor to experience. People come from all the neighboring towns to celebrate and some, like mine, travel every year from the United States back to their village to visit family and friends and celebrate together. One of my favorite pasta making memories is visiting this village and making pasta with family and friends as we prepared for the festival. The first image in the video is of the remains of a church built in 1590 and the second stone building is the grain mill where my Nonna and her family would grind their grain into flour. Although this video is in Italian, you can still appreciate the work that goes into the festival and the joy of the people who make the village what it is! Wait until you see how much pasta they make!
And here’s a video I found to give a peek into the festival! After the church service, everyone processes through the town singing and circles back to the church to feast on all the amazing food and enjoy the music and festivities. If you visit Italy in the summer and early fall, you too could visit these historic villages in the mountains and enjoy a different festival almost every weekend!