My kids love mysteries. Recently, we’ve been exploring some great US History Mysteries through books and research. It’s a great way to learn more about history and geography while practicing some logic and reasoning skills. Our most recent US History Mystery was about The Great Chicago Fire of 1871 that burned from October 8th to the 10th destroying thousands of buildings, killing an estimated 300 people and causing millions in damages. Reasons for the fire are still debated today, but legend has it that a cow in the O’Leary family’s barn kicked over a lantern and started the fire. The O’Leary’s denied this charge and the true cause of the fire has never been determined. Other theories allude that someone trying to steal milk or a group of men playing a card game were trespassing on the property that night and caused the fire. Scientists have even theorized about a possible meteor causing the event due to evidence in the area! What is known is that, dry weather conditions, lots of wooden city buildings and a polluted river all seemed to leave Chicago vulnerable to the fire. The fire quickly grew out of control and devastated an area of the city about four miles long and almost a mile wide.
Fortunately, some positive change came from an unfortunate event. The aftermath lead to better building and fire codes, rebuilding the city and spurring great economic development and population growth. It’s a great topic to explore in US History, architecture, city development and living conditions, along with using logic and reasoning skills to discern information.
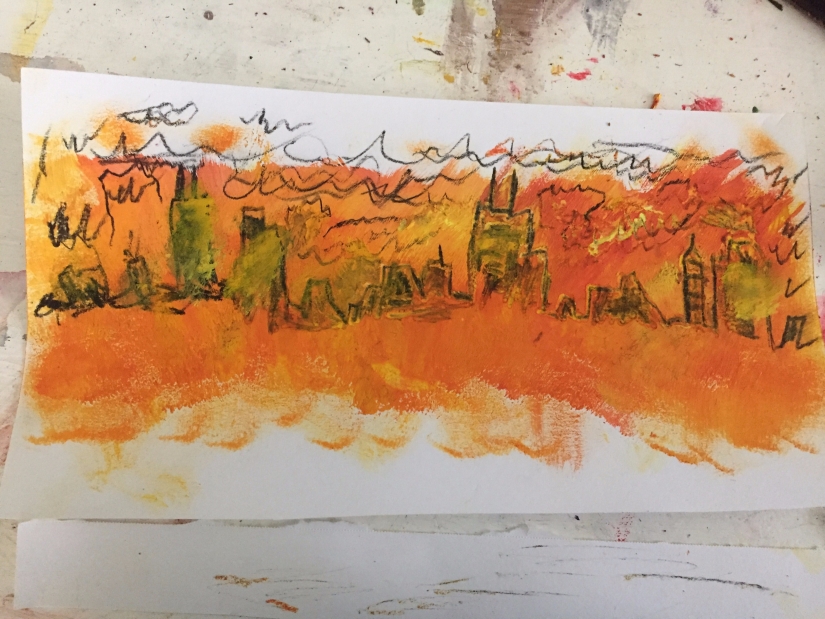
After our research, Ava (11) and Lily (9), decided to create a fire art scene of what the city may have looked like that night long ago. They used paper, pastels and acrylic paints to create the blazing background and then drew in the city skyline over the paint with black charcoal pencil.
The Virginia Mystery Series
The Virginia Mysteries Series by Steven K. Smith is a Great History Adventure Series
If you’re looking for a great History’s Mysteries series for kids ages 6-12, The Virginia Mystery Series by Steven K. Smith is an exciting read aloud History and Adventure series that my family has enjoyed. The stories are modern-day fictional mysteries with some twists to real locations and events from Virginia history. We’ve had a lot of fun reading these books and exploring some of the events and historical figures a little deeper.
Here’s to sparking a love of reading, an interest in US history and challenging kids logic and reasoning skills – Enjoy the Adventure!
Nothing says New England quite like the fall season; red, yellow and orange leaves, the crisp autumn air, farm stands full of winter squash and pumpkins and of course Apples! Apples are one of the first signs of Autumn and have been an essential part of New England agriculture for centuries. Apple picking is a Fall family tradition around here and we truly can never pick enough! We not only love to cook and bake with our apples, but have found some fun ways to craft with them too!
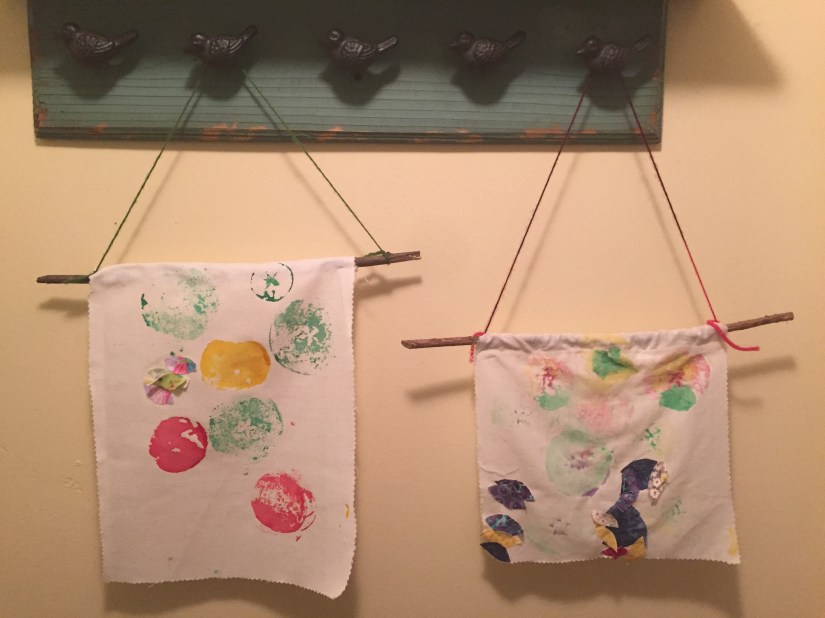
One of the kids favorite Apple Crafts is to cut an apple in half, dip it into some tempura paint and press them onto fabric or paper to create “Apple Prints.” I’ve been doing this fun, easy project with my kids since they were 4 years old and they still have fun experimenting with apple prints today!
If you’d like to give apple printing a try all you need are these materials:
Apples
Cotton or twill fabric
Tempura paint and brush (and something to pour paint onto for dipping)
A long stick or dowel rod
Hot glue gun & glue
String or yarn for hanging
Extra fabric cut into leaf shapes and modge podge to glue the leaves onto the fabric.
We like to cut the apples in half so that you see the beautiful star image.
Instructions:
Cut your fabric to fit the size of your stick or dowel; fold top edge of fabric over stick and hot glue gun in place (you can also hand sew this if you prefer)
Pour your paint onto a pallet for dipping; dip sliced apple into paint or apply a thin coat with a paint brush (encourage your child to experiment with the amount of paint, but the less paint, the better, so you can see the star print)
Press apple onto fabric and remove
If adding fabric leaves, apply modge podge glue with a paint brush (this glue will be transparent when dry so it is a good idea to brush it under and on top of the leaves.
Tie yarn or string to each end of stick to hang for display
*You can also create beautiful apple prints on paper
Autumn shows us how beautiful it is to let things go.”
– Unknown
I have a hard time with letting go. I really never like to see the warmth and beauty of summer come to an end or the days grow shorter. Seasons, like children, really mark the passing of time in a way that reminds me of the preciousness of life. Change is forever a constant and no matter how much I want my garden to keep on growing, little Jack Frost makes his presence known and bites my plants smack on the nose! I have a sadness in seeing the life of these beautiful plants that sustain us come to an end. Our garden has been so good to us. From one small seed, the earth gives us so much. So, as I move from harvesting the beautiful bounty of September into the cooler Autumn weather, I try to find the balance between Giving Thanks and Letting Go.
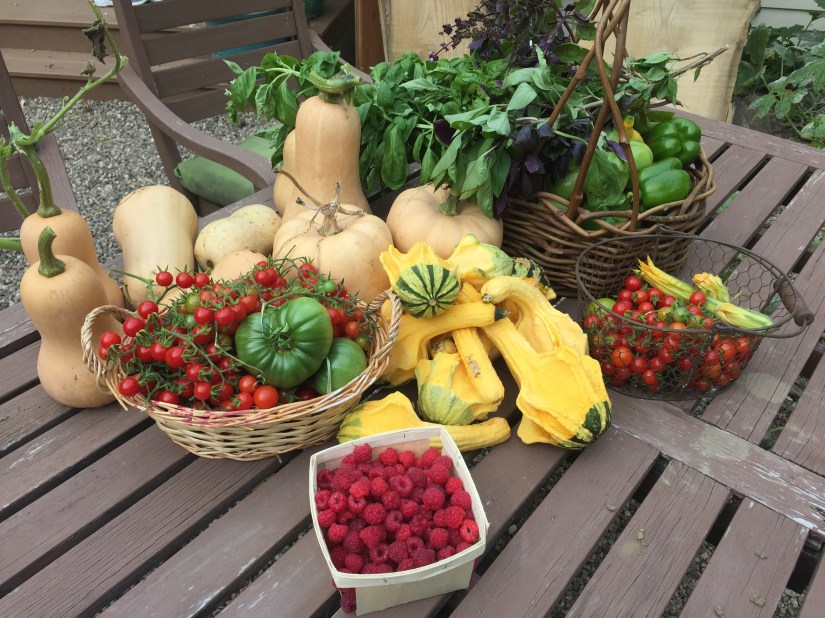
The kids and I have been very busy this past month picking fruits and veggies before the first frost. We’ve harvested red tomatoes, green tomatoes and lots and lots of cherry tomatoes! We’ve had a fantastic crop of butternut squash, peppers, eggplant, pumpkins and fall greens. Our raspberry bushes produced better this year than they ever have, but unfortunately some white, wiggly worms took up residence in our beautiful berries! Leo and Ava kept telling me that they saw worms in their raspberries and didn’t want to eat them. I thought that sounded crazy – worms, in raspberries? Well, after picking a pint full one evening I took a look inside a couple and yes, saw some little white worms dancing all around! Now the kids won’t touch them. I can’t blame them, my stomach turns at the thought of eating worms too! I have tried following some suggested remedies for the problem, but with no luck, sadly, the raspberries have been left for the birds. It’s a problem I hope to prevent in next summers crop!
Aside from some raspberry worms, there has been so much to be grateful for. We have been getting creative and learning lots of new things with this years harvest; like how to cure butternut squash, how to pickle green tomatoes, how to dry green beans to use the beans inside soups, how to dry and preserve herbs and how if you’re not prepared, one cool 34 degree night can easily frost what’s left in your garden! New England weather is funny like that, you can be enjoying an Indian Summer and then out of nowhere it’s time for your fleece jackets and winter caps. Fortunately, all the tomatoes were picked and Ava and Vivi had a fine time picking every last little stem off of the hundreds of cherry tomatoes before we froze them!
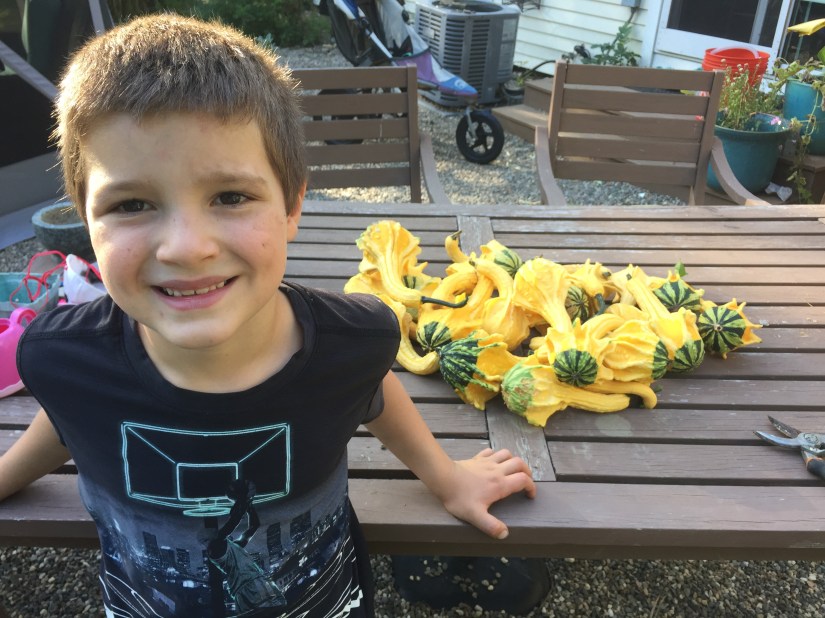
Farmer Leo also had a great crop of pumpkins and gourds this year! Never have we eaten so many pumpkin pies before Thanksgiving! We have been roasting pumpkins on a weekly basis and what we don’t use right away we’ve frozen for latter. Leo love’s making pies, but we’ve also been creative and made pumpkin soup, pumpkin butter, pumpkin bread rolls, pumpkin smoothies and pumpkin bread! Oh, the many ways to cook a pumpkin!
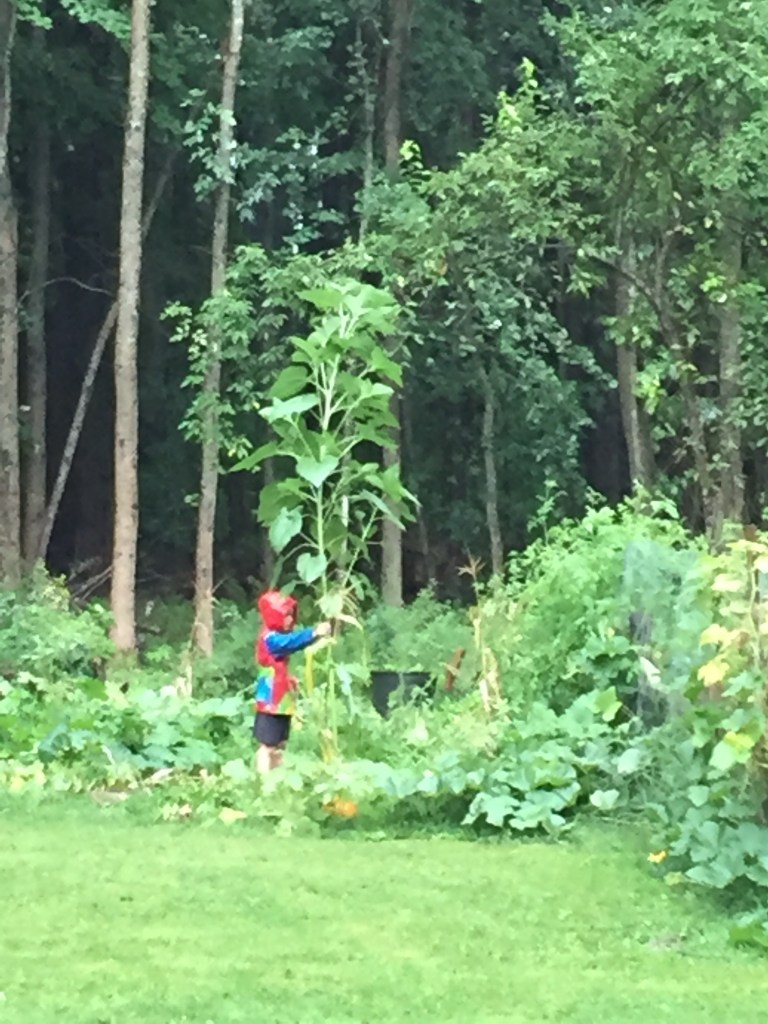
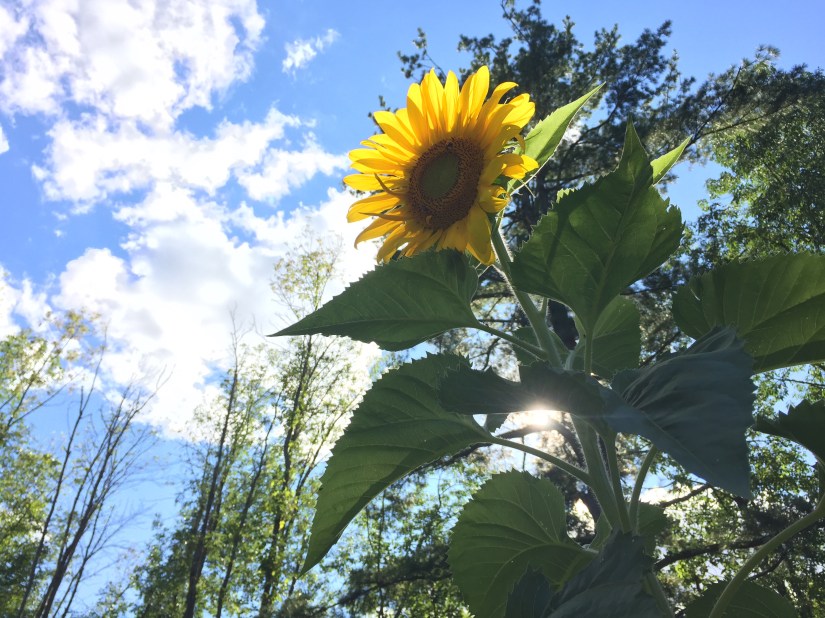
I couldn’t have been more proud of my farmer, then when he stood outside for twenty minutes holding up his sunflower during our mini-East Coast hurricane! He showed our family what a big heart and dedication looks like as he saved his 12 foot prize sunflower!
Fall is a time of harvest, a time of joy, hard work and in giving thanks to the earth that sustains us! It’s a time when we work hard together to preserve the sweet tastes of summer that will not only nourish our bodies, but our souls as we navigate through the cold winter months ahead. Fall is also a time of letting go. It is a time to slow down and reflect on all that we have in our lives and find comfort in the changes. We all need a time for rest in order to renew. Spring will return and with it, so will the garden and the gifts of the earth. In taking time to give thanks, we have appreciation for today and in letting go, we have hope and a belief in tomorrow.
Wishing you all – the endless beauties of the earth’s bounties and in finding the true gift in Giving Thanks and Letting Go
"To Everything Turn, Turn, Turn,
There is a Season; Turn, Turn, Turn,
And a Time to Every Purpose Under Heaven"
- Pete Seeger
“Once I had a pumpkin, a pumpkin, a pumpkin…” This tune is a favorite of Vivi’s, my 22 month old, right now as she dances around the house singing “pa-kin, pa-kin” and encourages us all to join in. She too is getting into the fall spirit! Fall is here! – and our household is busily making the shift from summer into fall. We are pulling our fleece apparel out of the closet and searching for our fall bin of decorations. I always have a hard time saying goodbye to summer, but living in New England over the years, has helped me fall in love with Fall! Getting outdoors in the cool, crisp air, hiking the mountain range taking in the warm autumn colors, picking apples and pumpkins and eating them! It is now a season that I truly look forward to and especially love sharing its beauty with my children!
As we prepare for the Fall Equinox on Tuesday September 22nd, the kids and I have been putting together our fall nature table, doing some fall decorating and nature crafts and putting together idea’s for our fall festive feast with local ingredients for Tuesday. As you may have guessed, the menu includes lot’s of pumpkin recipes! Fortunately, Leo’s pumpkin patch has been very rewarding this year. We have already carved and roasted 12 pumpkins! With more still to be picked! My little pumpkin farmer has carried his pumpkin interests into the kitchen and we’ve been busy making some of our pumpkin favorites.
Beyond its delicious taste, pumpkin is nutritious and linked to many health benefits. It is good for your heart health, your immune system, and contains a variety of nutrients that can improve your overall health. There are so many ways you can use pumpkin purée. I add it to our oatmeal, to our tomato sauce and put it in our smoothies. The kids love fresh pumpkin butter on a slice of bread. We’ve also enjoyed pumpkin soup, pumpkin ginger quick bread, and of course, giant pumpkin pies! Surprisingly, no matter how big we make them, we never seem to have leftovers!
Making the Pie Crust
Keeping watch over the Pumpkin Butter
The Giant Pumpkin Pie!
One of our family favorite pumpkin recipes are Pumpkin Rolls from The Artful Year by Jean Van’t Hul. These rolls are easy to make and taste fantastic. They don’t last long in our house!
Ingredients
1 Cup Milk
1/4 Cup Water
1/3 Cup Brown Sugar
1 Teaspoon Salt
1 Tablespoon Pumpkin Pie Spice
2 Eggs
4 Teaspoons Active Dry Yeast
2 1/2 Cups White Whole Wheat Flour
2 1/2 Cups All-Purpose Flour
1/2 Cup (1 Stick) Butter
1 Cup Pumpkin Puree
Instructions
Whisk milk, water, brown sugar, salt, and pumpkin pie spice together in a saucepan. Heat the mixture over low heat until warm (not hot).
Remove the pan from the heat and mix in the eggs and yeast.
Mix the flours together in a large bowl. make a well in the center and pour in the milk-egg mixture (but don’t stir). Cover the bowl with a lid or plate and set aside for 30 minutes.
Meanwhile, melt the butter in a small pan. Remove from the heat. Add the pumpkin puree and stir until blended.
When the 30 minutes are up, add the pumpkin-butter mixture to the bowl of flour and stir to combine the ingredients.
Place the dough on a clean counter and shape it into a ball. Cover the dough with the inverted bowl and let it rise for 20 minutes.
Knead the dough lightly on a floured surface, then shape it into small rolls. The dough is sticky, but try not to add too much flour.
Place the rolls on a lightly oiled cookie sheet. Let them rise for another 20 minutes.
During this last rise, preheat the oven to 400 degrees.
Bake the rolls for 15 minutes. They are delicious warm or at room temperature.
Enjoy!
Wishing you all a Festive Fall Equinox Celebration! Enjoy the Autumn Sunshine, Go on a nature hike, Make some fall themed nature crafts, have a fall harvest feast, watch the leaves turn, make a bonfire and roast some marshmallows – Reflect upon your gratitude for nature and the earth!
I cannot endure to waste anything so precious as autumnal sunshine by staying in the house.
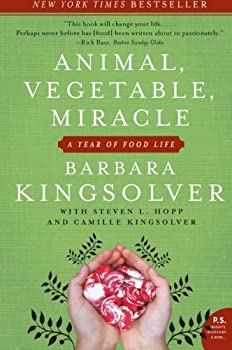
Animal, Vegetable Miracle: A Year of Food Life, by Barbara Kingsolver is always on my nightstand. I read and fell in love with this book years ago when I planted my first vegetable garden in my city-living courtyard! A part of me still dreams of running a homestead as Kingsolver has accomplished in this book – someday maybe. I was truly inspired by Kingsolver and her family. She captures the true joys and hardships of being a family, working together and the simple joys of life. Kingsolver, her husband and two daughters leave the comforts of their Tuscon, Arizona home and travel across the country to settle in a rural town in Virginia determined to live off their land for one year – they only buy food raised in their own neighborhood or grow it themselves. Their story is one of human resilience, rediscovering your roots, the rewards of self-sufficiency and the love of food! It is an empowering read that is extremely informative about the politics of food and how we can all benefit by taking our food into our own hands.
This book couldn’t be more relevant than at a time when we are dealing with a global pandemic that has encouraged many across the globe to become more self-sufficient, connect with a slower pace and care more about the earth that sustains us all.
The beautiful stories woven throughout this book are of the joys of growing food, the hardships and rewards and what you can do in your own simple ways no matter how big or small to nourish your own mind, body and soul – and by doing it, make this world a little better. I hope this inspiring story finds its way into your heart and home and maybe even finds a place on your nightstand!
Tell Me What You Eat and I Will Tell You What You Are.
Still baking bread? Why not try making homemade butter too – it’s super easy and tastes great!
Making our own butter has always been a favorite science experiment at our house. The kids never seize to be amazed at how shaking cream in a jar with a marble can turn into a delicious treat we spread on our bread! Making butter from scratch is super easy and so much fun for kids of all ages. All you need is some heavy cream, a mason jar with a lid, a marble (optional) and a little patience!
Ingredients and Materials:
Mason Jar & lid
Heavy Cream
pinch of salt
clean marble
Directions:
Fill your mason jar half-full with Heavy Cream
Add a pinch of salt and a clean marble (the marble is just a fun idea that helps churn the cream into butter and add some extra fun when the kids shake it up)!
Put on the lid and shake it up. The marble will click around and when you don’t hear it anymore or it starts to thud, your butter should be done! The whole process should take about 10 minutes depending on how vigorously you shake the jar and how much cream you have put in.
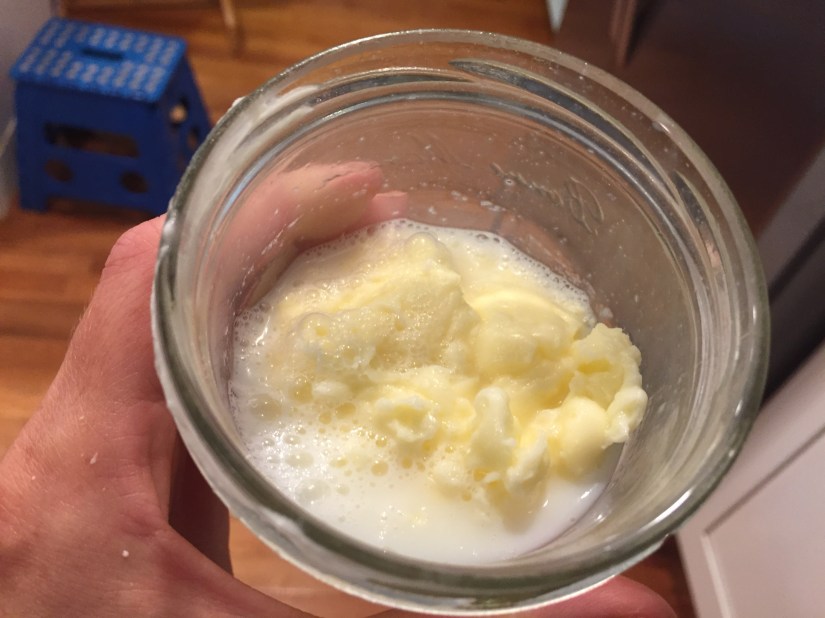
You’re butter is done once you see a clump of butter has separated from the buttermilk! Carefully pour out the buttermilk and save for later use (great for baking).
Put the butter in a bowl and rinse with cold water, carefully squeeze it to get the remaining buttermilk out.
Spread your butter on some fresh bread or muffins and Enjoy! (The butter will last in the fridge for about 5-7 days, but it will probably be eaten up before then)!
The Science Behind Homemade Butter
When whole milk is left uncovered in the refrigerator tiny fat molecules float to the top, forming a layer of heavy cream. This cream can be separated from the milk and used to make butter. When you shake heavy cream in the mason jar, the agitation causes the fat molecules in the cream to clump together. During this process, the water molecules separate from the solid mass and create buttermilk. The cream goes through a physical change when it is churned into butter.
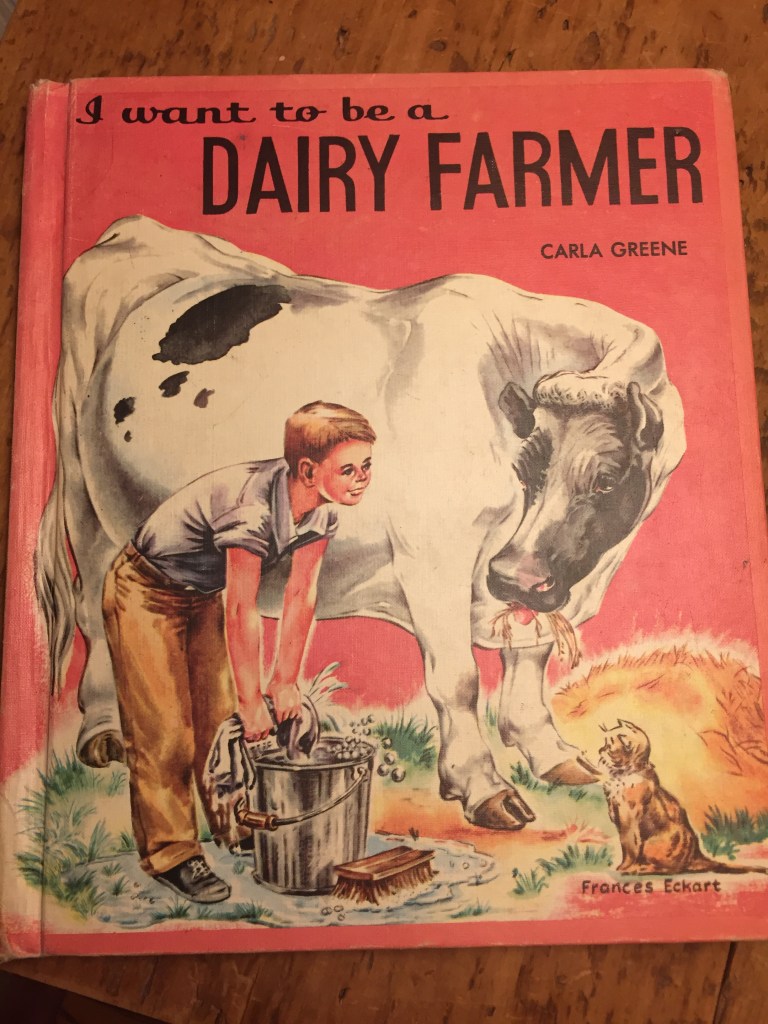
Some Great Informational Books for younger kids on Dairy Farming:
Here’s a great educational demonstration about making butter in the early 18th century by the Townsends.
Have Fun In The Kitchen Making an Edible Science 18th Century Treat!
Long ago in a time before modern conveniences like refrigerators and freezers, fermented foods were in everyones diet. Heck – most of our grandparent’s probably had more fermented foods in their diet than we do today! Fermented foods contribute to a strong gut flora which in turn contributes to a strong immune system. For all of us, our immune health starts with what we eat and what is in our gut. Even if you aren’t fermenting your own foods, there are plenty of ways to get some good old-fashioned fermented fun into your diet. Pickled Beets, Sauerkraut, Gingered carrots, pickles and Kimchi are all fermented vegetables that can be purchased at most food stores and if you’re really lucky, you may live in an area where you can buy fermented goods from your local farmers! Eating a tablespoon size amount of fermented foods 1-3 times a day can aid in building a strong deep immune health.
One of my favorite small businesses to buy good organic fermented food from is Real Pickles. If you’re feeling adventurous, next step will be to start fermenting your own foods right at home. I’d recommend starting with homemade pickles, sauerkraut or gingered carrots. Fermented foods definitely aren’t for those with sensitive taste buds, but once you give it a try, the rewards far outweigh the taste and you may even grow to like it!
Some beef bones from our local dairy
Bone Broth:
It sounds a bit intimidating, but really all you have to do is make your own chicken/beef/turkey stock using the bones. The important thing about this is that you are buying good quality meat, preferred organic, free range and/or grass-fed and not treated with antibiotics or other hormones. Bone Broth is Wonderful for strengthening your deep immune system. Easiest way to make it is to use a slow cooker and add your meat bones and any other veggie scraps you have saved up; onions, garlic and the skins, herbs, carrot tops, stems from greens, ginger – anything that will add to the flavor and nutrients, add 1/2 cup apple cider vinegar and enough water to almost fill the pot, cover and bring to a boil. Reduce to a simmer and cook for 24-72 hours. Let the broth cool, strain it, add salt and pepper to taste. It can be refrigerated for up to a week and you can freeze it for up to 6 months. You can drink the broth as you would a cup of tea or use it to cook rice, pasta and as a base for your soup. Getting one cup of bone broth into your body every day is extremely nourishing for your immune health.
Brands we use and really like
Elderberry Syrup:
Elderberry Syrup is a great addition to your diet especially when you feel run down or are starting to fight off a cold. During the Fall and Winter I give my family Elderberry Syrup Daily. This one is definitely easy to add to your diet because it has a great taste.
Egyptian Black Seed Oil:The Miracle Black Cumin Plant “Nigella Sativa“
This is a new immune booster that Mike and I have recently discovered and researched. To me, it’s like a miracle drug because it is a go to for numerous ailments, especially used for strengthening your overall immune health and well-being. Black seed oil comes from the Black cumin plant’s seeds. The historic evidence shows Black Cumin, or Nigella Sativa, was grown from the rich soil of the Nile River Delta in Egypt and has been used for over three thousand years to aid in digestion and overall well-being. I add a tablespoon to my oatmeal or smoothies and sometimes to my tea or a glass of switchel. You can also use the oil on dry, irritated skin. The oil has many health benefits. For further reading you can explore this text by Doctors Schleicher, and Saleh:
“Black Cumin: The Magical Egyptian Herb for Allergies, Asthma, and Immune Disorders” by Peter Schleicher M.D., Mohamed Saleh M.D. Start reading it for free: https://a.co/7mQcOuY Download Kindle for Android, iOS, PC, Mac and more http://amzn.to/1r0LubW
Exercise:
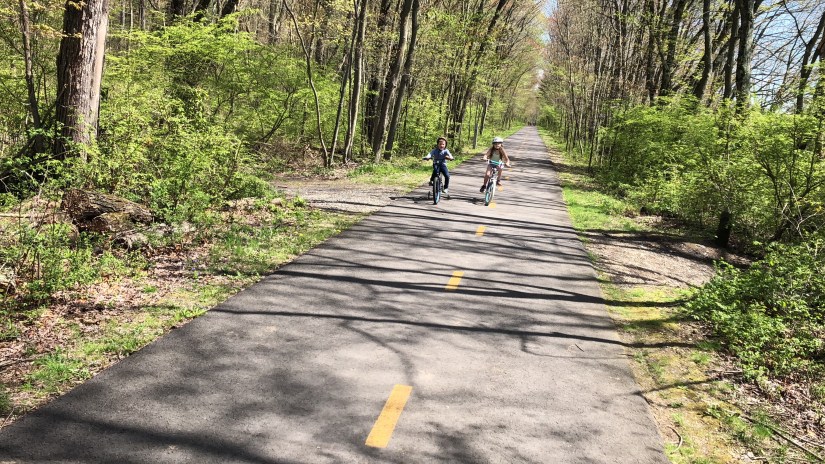
The benefits of getting outdoors and moving your body are immeasurable. It isn’t always easy to do, but a little bit of exercise every day goes a long way for your mental, physical and especially your immune health. Ride a bike, take a walk, go on a jog or hike, kayak, swim, play a game of catch or kick ball in the yard with your kids. Take a walk with your kids or partner when you can – it is a therapeutic experience for you all to share together.
Mindfullness Exercises:
Finding time for yourself and moments of quiet are extremely important for recharging and resetting your mind and body. We all need moments of quiet and calm in our day to reflect on what we’re doing and what we’re feeling inside. Research shows that relaxation exercises minimize chronic pain, lower blood pressure, sharpen concentration and even improve the function of the immune system. Let go of the stress and appreciate the beauty of the present. It is nourishment that only you can make time for, but is so important to your health.
Sleep:
After having four children, I don’t feel that I’ve slept much in the past 11 years, but whenever I can get rest – I do! Sleep is so essential to your health. It is your brains way of recharging and preparing for the busyness of the day ahead. Sleep is also essential to your immune health. All things are handled better after a good nights rest – encourage it for yourself and your children. When one of us in our household doesn’t get a good nights sleep, we all pay for it – so work together and all your immune systems will benefit!
Wising you all Good Health!
If you’re interested in doing any more reading on ways to fight viruses – Herbal Antivirals: Natural Remedies for Emerging & Resistant Viral Infections by Stephen Harrod Buhner is a great resource.
Years ago I saw this idea in a gardening magazine and loved it! It is simple to make and such a beautiful addition to the garden landscape. All you need is a giant Rhubarb leaf (you can really do this with a leaf of any size so feel free to get creative – Elephant Ear also works great too), a bag of cement, a bag of sand and a tarp or something to protect your cement from the elements while drying.
Instructions:
Make a mound of sand in an area that will not be disturbed as it will be the base for your leaf to dry.
Place Rhubarb leaf face side down on the mound of sand
Mix cement and apply to bottom side of leaf
Cover with tarp and let dry
Once cement is fully dry – flip it over and peel off the green leaf – Now your leaf is ready to place in the garden!
Get creative and try out some different leaves of all shapes and sizes. We have also used smaller leaves and used them outdoors and in our house. We’ve also tried adding powdered tempera paint to the cement mixture to give a color to it. You could also water color the cement when dry and use a sealant to keep the color from washing away. The finished product is a lovely addition to any garden space and the birds love it!
Wishing you a Creative Day in the garden – Making some Lovely Garden Art!
I love summer squash and zucchini. To my great fortune, this year my garden is plentiful of it! Thankfully, both of these vegetables can be cooked and eaten so many different ways. I love to sauté some zucchini on the stove top with olive oil, chopped garlic and a little salt and pepper. I also love roasting it in the oven tossed in olive oil, salt, pepper and some parmesan cheese. Currently, my kids two favorite summer squash and zucchini recipes are squash fritters and zucchini bread- no surprise there! We’ve added our personal touch to some pretty basic recipes that we thought we’d share with our fellow gardeners who are also trying to figure out what to do with all that squash! Enjoy!
I have found these freeze up nice once shredded and stored in a freezer bag. Quick and Easy!
Summer Squash Fritters (We use the yellow squash for these)
Ingredients:
2 Cups Yellow Summer Squash or Zucchini shredded
8 Tablespoons Flour
2 Large Eggs
1 Teaspoon Baking Powder
1 Teaspoon Salt
1/2 Teaspoon Pepper
Chopped fresh Basil leaves
Half an Onion shredded
2 Tablespoons Parmesean cheese
Vegetable oil and 2 Tablespoons Butter for frying pan
Directions:
Mix all ingredients in one bowl
Heat oil and butter in large frying pan (enough oil to cover the fritters half-way)
Scoop a small pancake size dollop of batter into the pan once oil is heated
Cook on one side about 2-3 minutes until browned then flip and do the same on opposite side
Once done, move fritter to a plate with paper towel to absorb extra oil
My kids love these served hot with ketchup and fresh sliced tomatoes!
Lemon ZucchiniCake
Ingredients:
2 Cups Zucchini shredded
2 Cups All Purpose Flour
1 Tablespoon Cinnamon
1 Teaspoon Ginger
1/2 Teaspoon Nutmeg
1 Teaspoon Salt
1 Teaspoon Baking Powder
1 Teaspoon Baking Soda
1 Teaspoon Vanilla Extract
Zest and Juice of 1 Lemon
2 Large Eggs
1 Cup Brown Sugar
1/4 Cup Coconut Oil – or Vegetable Oil
1 Tablespoon Butter for Pan
Directions:
Mix all dry ingredients and wet ingredients separate then Combine
Butter a 13 x 9 inch pan
Pour batter into pan and bake at 350 degrees for 30 minutes
Icing:
Mix juice of one lemon with enough confectioners sugar to make an icing consistency to pour over cake when cool
Enjoy!
This Zucchini Cake Recipe is adapted form a Wonderful Italian Cook that the kids and I like watching on Youtube. She reminds me very much of my own Nonna and has some authentic Italian dishes you might enjoy checking out.